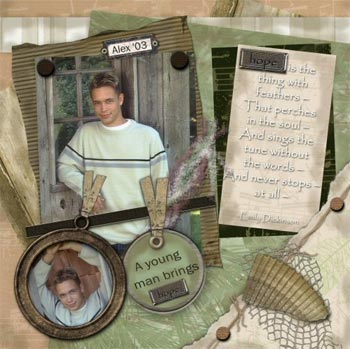
Digital Layout created by Beth Ervin
Supplies: Paint Shop Pro 8.1
Simply Vintage CD:
Rusty Round Frame Charm, Hammered Brads, Fibers
Simply Shabby CD: Barn Board,
Winter Collage, Music Honey, and Music Ebony Papers, Hope Charm, Hope
Title Art, Round Metal Rimmed Tag, Torn Paper Corner
Simply Memories CD: Rusty
Bookplate
Lazy Days of Summer Page Pak: Sea
Shell, Fishing Net, Staple Ribbon
Thanks Page Pak: Wavy Cardboard
Mat
Music Page Pak: Black Ribbon
Font: Arial
Photo Credit: Ford Studios
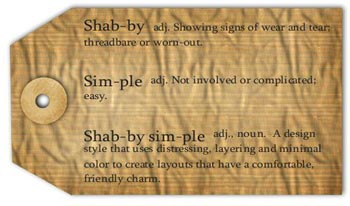
Digital Tag created by Beth
Ervin
Supplies: Paint Shop Pro 8.1
Simply Vintage CD: Crumpled Tag
Font: Times New Roman

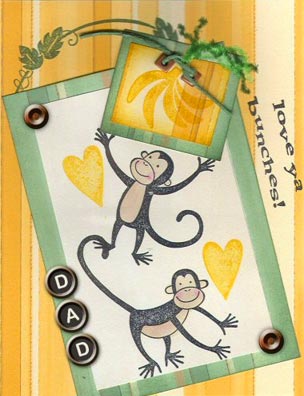
Paper Pieced Father's Day Card created by Beth
Ervin
Supplies: Paint Shop Pro 8.1
Simply
Kids CD: Striped Papers
Simply Vintage CD: Typewriter
AlphaSet, Rusty Brad, Tag Tie Fibers
Stampin' Up: Monkey and Heart Rubber Stamps, Rubber Stamp Inks
|
Shabby Simple

From
artistic collage to altered books, the shabby look has fast
become one of the hottest trends in scrapbooking, as is likely
to remain for a while. With a huge array of intriguing products
both traditionally and digitally, where do you begin and how can
you keep it simple?
Most of
us began scrapping with "clean lines" and may feel a bit uneasy
when it comes to mixing and matching, tearing and distressing
all of the fibers, ribbons, charms and decorative papers
associated with a "shabby-chic" look. The good news is that
there are really only three key elements that make up
shabby-chic: an aged or distressed look, lots of layering and a
simplified color palette. Combine these elements, familiarize
yourself with a few simple techniques, and you can easily
achieve your own shabby look to create layouts with a playful,
vintage charm.
Here
are some easy starts to unlock your own unique "shabby-simple"
style:
-Begin
with heritage photos, as they lend themselves to the feel of
shabby style. Use muted tones of layered vintage papers to
reflect the mood of the photos.
-Repetition of two or three colors will tie the layout together.
Use multiple layers of designs, patterns, and embellishments.
These layers add depth to the page and can be as simple as a tag
or ribbon. Add more layers as your comfort level increases.
-Distressing your layers traditionally is a breeze using
"Digital Distress" inks. They come in a wide variety of colors
(infinite to be exact). Distressing papers digitally is easy,
too, it just takes of bit of practice using your image
editor. Here are the simple steps:
1. Add
a new raster layer
2. Choose the brush tool and use a chalk brush with a very low
opacity (I use 15-25%)
3. Set your foreground color to a black, brown or olive hue
4. Edge brush your desired pieces with jagged strokes
5. Erase your "grunge" with the eraser tool if it seems too
heavy or you can adjust the opacity of the layer, as well.
Remember to keep it simple; the effect you are trying to achieve
is a weather-comfortable look that easily lends itself to a
vintage feel.
To make
simple-shabby even more simple, CottageArts.net has already done
the shabby work for you! There are CDs and many page paks to
choose from to get this look. Some of my favorites are...Simply
Shabby CD, Grunge Page Pak, Shabby Page Pak, Music Page Pak, and
Shabby Daisy Page Pak. Simply Vintage CD also has some great
shabby stuff!
Beth Ervin of CottageArts.net
|


