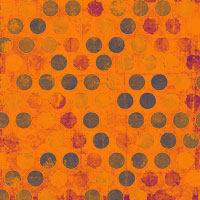
When I
first
saw the
polka-dot
paper in
the new
Naturals
11 Paper
Pak, I
immediately
envisioned
a
multi-colored
layout
and I
knew
exactly
how I
would go
about
creating
that
vision...
a
gradient
overlay. This
technique
can be
applied
to any
of the
gray
scale
naturals
papers
(in
Naturals
Papers
7, 9,
and 11),
so don't
limit
yourself
to just
one!
Note:
Tutorial
uses
Adobe
Photoshop
or
Photoshop
Elements
1.
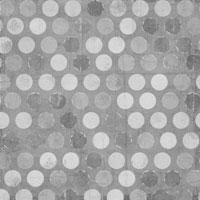
Begin by
opening
the
Naturals
11 Paper
Pak
paper of
choice.
Naturals
7, 9,
and 11,
12
are some
of our gray
scale
patterns
and
textures
for you
to make
your own
creations.
The
other
Naturals
Paper
Paks are
multi-colored
nature
inspired
papers.
2.
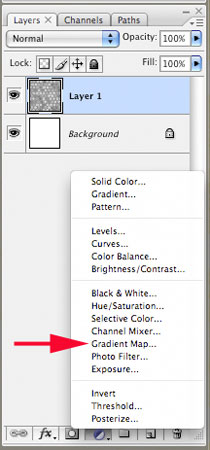
Next, in
the
layers
palette,
click on
Create
Adjustment
Layer
icon
(black/white
circle)
and
select
Gradient
Map.
3.
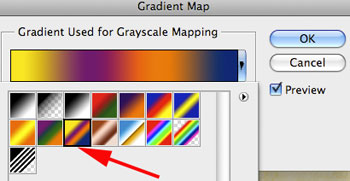
When the
dialog
box
appears,
click on
the drop
down box
for more
color
options.

4.
Select a
spectrum
from the
list by
clicking
on it. I
chose
Yellow,
Violet,
Orange,
Blue.
5.
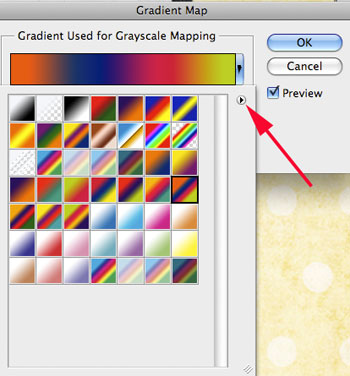
If you
do not
see a
color
that
appeals
to you,
click on
the
small
black
arrow
for more
options
.
6.
When you
have
made
your
choice,
click
OK.
7.
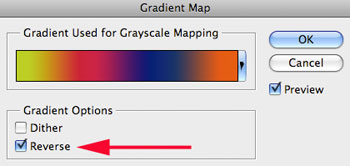
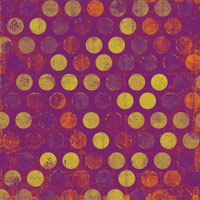
Once I
had my
spectrum
selected,
I wasn't
completely
happy
with the
color,
so I
decided
to play
around
with the
reverse
selection
and see
what I
could
come up
with. I
was very
happy
with the
results.
8.
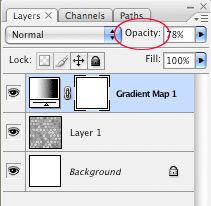
Finally,
to
reduce
the
effect
just a
bit, I
lowered
the
opacity
of the
gradient
map
layer.
9.
Have fun
and play
around.
Try
changing
the
blend
mode of
the
gradient
map
layer
and see
what you
can come
up
with.
The
possibilities
are
endless!
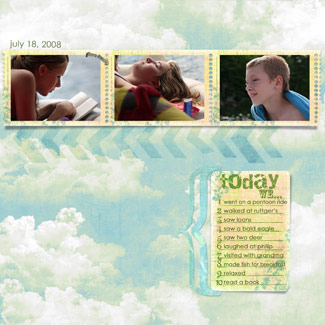
Below
left is
the
cloud
paper
from
Naturals
11 Paper
Pak
with
a
Yellow,
Green,
and Blue
Pastel
Gradient
Map,
Reversed
at 90%
opacity.
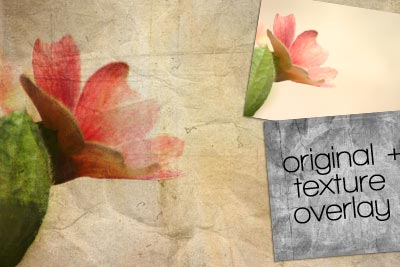
These
papers
are also
fabulous
for
adding
texture
to your
photography,
as shown
below
right...see
Michelle's
Photo
Blend
Tutorial
here.
 |
 |
 |
See
our
Creative
Team
Challenge
using
Gradient
Maps
here
Melinda
Ver
Meer
&
Michelle
Shefveland,
CottageArts.net |