|
Our
AlphaSets are fun to use, but can be a
little tricky to keep lined up.
Getting a word to
position perfectly straight may seem
tricky, but can be done simply using
Photoshop or Photoshop Elements.
|
Step 1
Create a new document (other than
your scrapbook page) that you will build your title in. I will refer to this as the Title Document (File>New Image...) |
|
Step 2
Drag a Guide Line
down from the top to create your
baseline for the letters. (If
it seems you are unable to do this, be sure to
have the rulers visible
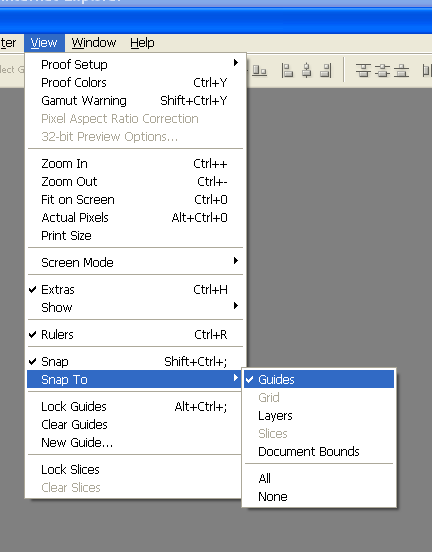
(View>Rulers). Also, be sure to
have Snap To Guides enabled (View>Snap To>Guides).

|
|
Step 3
Open the images of the
letters needed for your title
and drag them onto your new
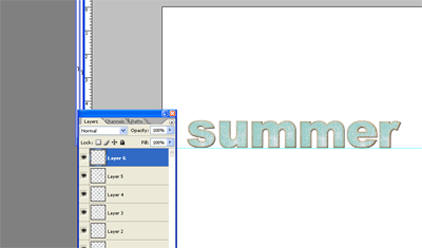
Title Document. Have each letter
remain on a separate layer. |
|
Step 4
Drag your letters so
that they are on the line. As
you move them, they should want
to "stick" or snap to the line.
By "snapping" them to the line,
you are ensuring that they line
up evenly. You will need to use
your "eye" to space them evenly
horizontally.
 |
|
Step 5
Adjust Letters
If you would like to adjust any
of the letters or all of the
letters, this is the time.
You can slightly rotate letters
to create a bit of fun and
movement or even resize some
letters for interest.

Resize or Rotate If
you would like to resize or tilt
the whole word, merge the layers
of the letters and do so. You
can then copy the word into your
layout. By creating the word in
another document you are
reducing the number of layers
needed in your layout and
keeping your computer at top
speed and performance. Feel free
to add other words or
embellishments to create more
interest.
 |
Step 5
Once you are finished
creating your title, merge
layers (not including
background-make that invisible before merging...Layers>Merge Visible) and copy/drag onto your
layout.
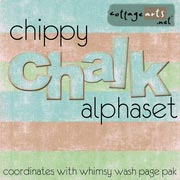
 The Chippy Chalk AlphaSet was
used in the above example.
See the full selection of
Downloadable AlphaSets
HERE. |
Making AlphaSet titles is fun and a great way to personalize your
layout!
|


