|
Collecting
papers with differing patterns of polka
dots, stripes, florals, paisleys, fleurs,
ornamentals, and so on is a blast and
can be addictive! It is a creative
challenge to successfully mix and match these patterns
for eye-catching layouts and projects.
But did you know that you can also
resize your patterns,
create custom shapes filled with
patterned papers, and change colors? See
below for step-by-steps using Adobe
Photoshop Elements 3.
Re-sizing Patterns
There are many different ways to change the size of a pattern. Below is one method using the Pink Plaid Paper from the new "In
My Pocket" Page Pak. I will create a mat using the paper and then scale it down.
-
Open Brown Wash Paper
-
Select the
Rectangular Marquee Tool and draw a preferred mat size where you want it, which will be indicated by "marching ants"
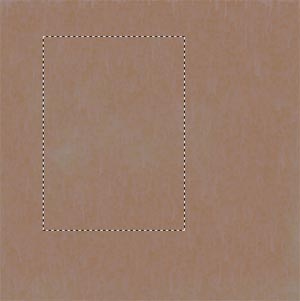
-
Open Pink Plaid Paper
-
Choose Select>Select All, then Edit>Copy
-
Select Brown Paper image and choose Select>Paste Into Selection. It will
look like this:
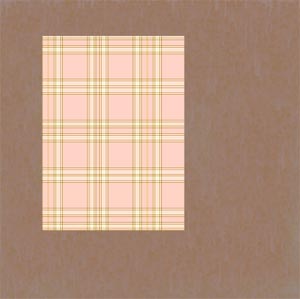
Resize the plaid pattern by clicking
Control-T (transform), let go of the mouse, and then press the Shift key while dragging inward at one of the four corners (to maintain same
proportions). The pattern will become
smaller. Make sure the pattern fills the entire selection.
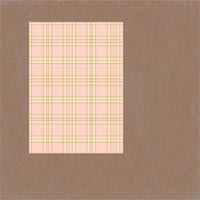
This is how to modify pattern scale within a mat space...try it on other shapes drawn with the Selection Tool!
Fill a Shape with Patterned Paper
Another valuable technique is learning how to make your own custom shape accents out of patterned paper.
Open the Pink Floral Paper. Draw a shape with the custom shape tool (we used the scalloped flower) that you want to fill with the paper (figure 4). Decrease the size of the paper using the Move Tool, to the desired pattern size to fill the new shape (figure 5). Select the custom shape (Ctrl-Mouse Click the layer in the layer palette), select the patterned paper layer, choose Edit>Copy, Edit>Paste and a new layer will be created of the patterned paper in the scalloped shape. Remember to make the original paper layer and the custom shape layers invisible or delete them.
Change Colors
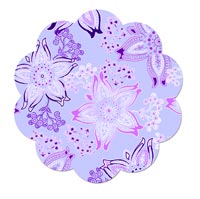
For even more versatility, use the Enhance>Adjust Color>Adjust Hue/Saturation dialog to change the colors of the paper accent. Add drop shadow, if desired. Crop and save as .PNG image or drag onto page in progress (figure 6).
figure 4
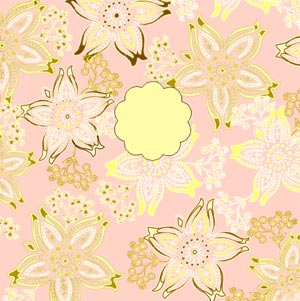
figure 5
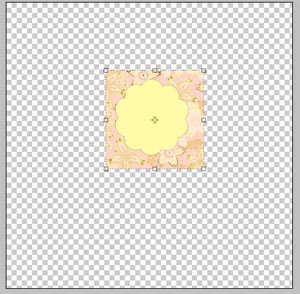
figure 6
|


