|
The License Plate AlphaSet
from the Simply Memories CD is a great AlphaSet allowing you to
make your own custom license plates! While this alphabet is versatile and
trendy, it takes a little finesse to get it lined up perfectly.
First, from your Simply
Memories CD, navigate to the License Plate AlphaSet in the
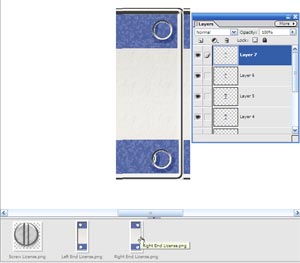
AlphaSets folder. Open the letters of the word you want to spell and
also the Left End License.png and Right End License.png. With
the Move tool selected, drag each graphic onto your layout or in
a separate file, and they should all be positioned on top of
each other (see image below). TIP: I like to do this in a
separate image file with a transparent background, and when I am
finished with the work, merge the layers and drag the merged layer into
my layout.

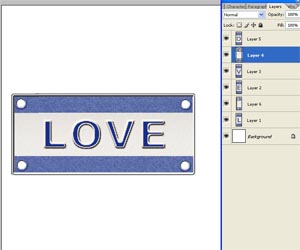
Next, with your Move Tool selected, use your
left and right arrow
keys and adjust the letters so that they line up correctly. Use
your Zoom tool to see better, if necessary. Feel
free to have the pieces overlap slightly if you want a more
"tightly-fitted" word (you may need to adjust the
layer positions in the layer palette of some letters to do this).

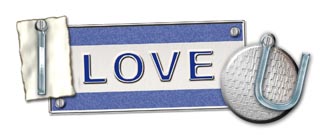
Once all the letters are
aligned, open and drag the included screws on top of the holes
(if desired), choose Layers>Merge Visible (if you have a
background, make it invisible before merging layers). Add a drop shadow and drag
the new license plate to your layout. Add screws to the holes if desired. Resize as
needed.

Metal AlphaSet, License Plate
AlphaSet, Metal Screw, and Metal Round Tag, all from
Simply Memories CD.
Doris Castle,
CottageArts.net |


