  |
  |
|
Steps to create a custom mat Background for examples below is from Kids Valentine Page Pak - Instructions are using Adobe Photosho; other image editors would be similar  How
to Make a Basic Mat How
to Make a Basic Mat
As covered in last month's issue
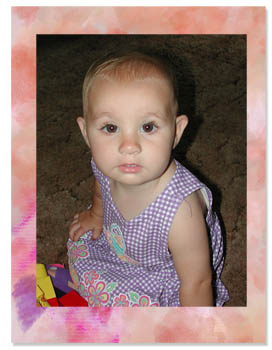
1. Open the background paper you would like to use for your mat. 2. Draw a rectangle using the Rectangular Marquee Tool. Use the Fixed Size function if you would like to make the mat a particular size. 3. Copy the rectangle (press Control and C at the same time or use the Edit>Copy menu at the top of the program) and paste (press Control and V at the same time or use the Edit>Paste menu at the top of the program) it onto your layout. 4. Add your photo on top on another layer. 5. Adjust the mat if needed. 6. Double mat by adding another mat underneath the last mat, if desired.
How
to Make a Mat with Room for Journaling and Embellishment
 1.
Open the background paper you would like to use for your mat. 1.
Open the background paper you would like to use for your mat.
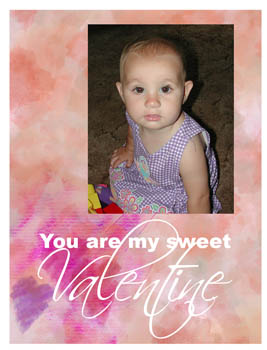
2. Draw a rectangle using the Rectangular Marquee Tool. Use the Fixed Size function if you would like to make the mat a particular size. Move the rectangle over the section of the paper that you would like contained in the mat such as a graphic. If you would like the graphic appear smaller, draw a larger rectangle and resize using the Transform/Scale selection from the menu bar. Consider enlarging the rectangle to allow room for journaling and/or embellishments. 3. Copy the rectangle (press Control and C at the same time or use the Edit>Copy menu at the top of the program) and paste (press Control and V at the same time or use the Edit>Paste menu at the top of the program) it onto your layout. 4. Add your photo on top on another layer. 5. Adjust the mat if needed.
1. Create a Mat using one of the above methods. 2. Select the photo (click control while clicking the photo layer) 3. Delete the selection from the paper layer 4. On the paper layer, adjust the Bevel and Emboss settings in the Layer Style Dialog Box
|
|
Do you ever
see a message box similar to the one below when you open a file from
CottageArts.net CD?
If you do, there is no need to worry. This box is merely informing us that in the creation of the CD a different version of a program was used and that the color profile is different. There is no loss of color or quality of the image. By using a different profile, a newer or older version of the program is able to compensate for the changes of the program. To avoid this in the future just check the "Don't show again" box circled in red in the above screen shot graphic.
|
|
|