
|
|
Removing Red Eye and
Whitening Teeth
Using
![]()
(Adobe®
Photoshop® , Jasc Paint Shop Pro, Corel® PHOTO-PAINT,
Ulead PhotoImpact 7 and higher would follow similar instructions)
|
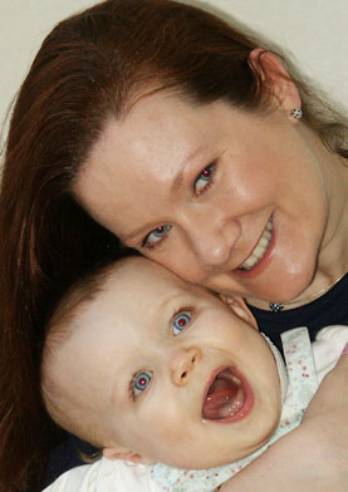
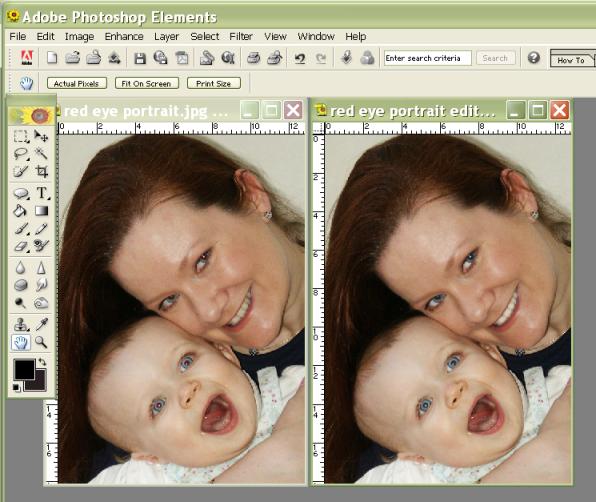
Chances are, you have a few photos with red eyes in them. If you use a flash, it is almost impossible to avoid.
This photo would be a nice picture if it weren’t for the red eyes. But that’s very easy to fix! It’s also very easy to brighten the whites of the eyes or teeth. |
|
|
What you’ll need:
You’ll learn how to:
|
|
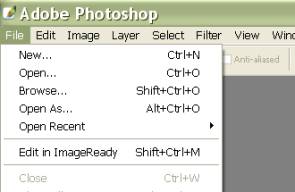
Open Adobe Photoshop or Photoshop Elements.Open your Photo which has a red eye problem.Choose File > Open and browse your system for photo. Click photo of choice and then choose Open.
|
|
|
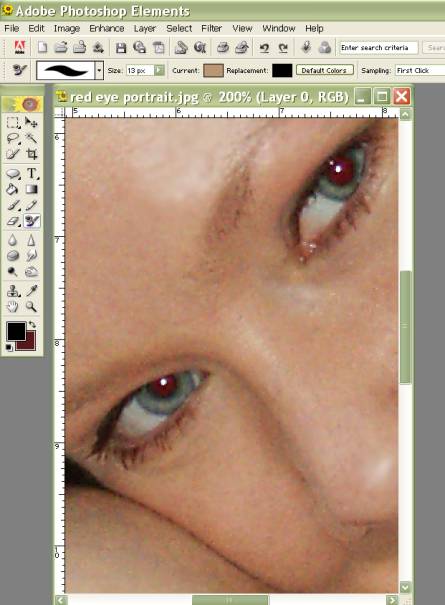
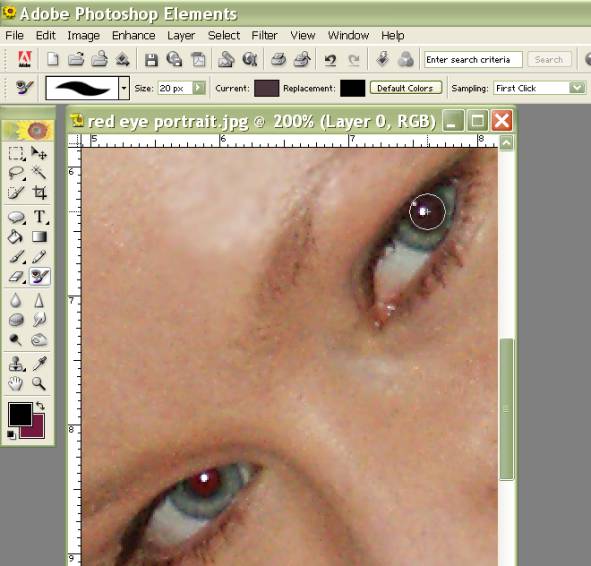
Choose the Red Eye Brush from the toolbox.
Zoom in on your image so you can clearly see the eyes.
|
|
|
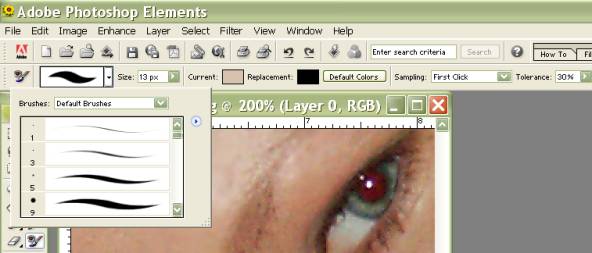
Choose a brush from the pop-up palette in the Options toolbar. A brush that is about the same size of the pupil is very effective. |
|
|
From the Sampling Pop-up menu, choose First Click. Specify the target color (the color you want to remove) by clicking in the red area of the eye. Now the target color is set. The default Replacement color is black, but you can change it if desired. Any pixels that match the target color are colorized with the replacement color. If you want to darken the effect, try using the Burn tool over the pupils. |
|
|
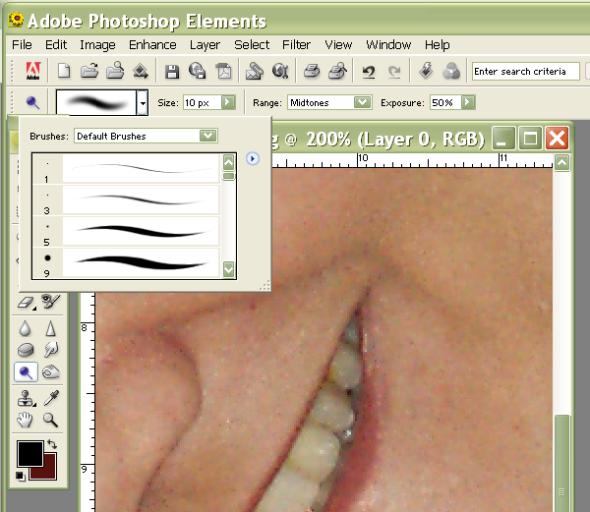
To whiten teeth, or brighten other areas such as the whites of the eye, select the
Dodge Tool.
Choose a fairly large brush (about the size of a tooth) with a soft edge.
|
|
|
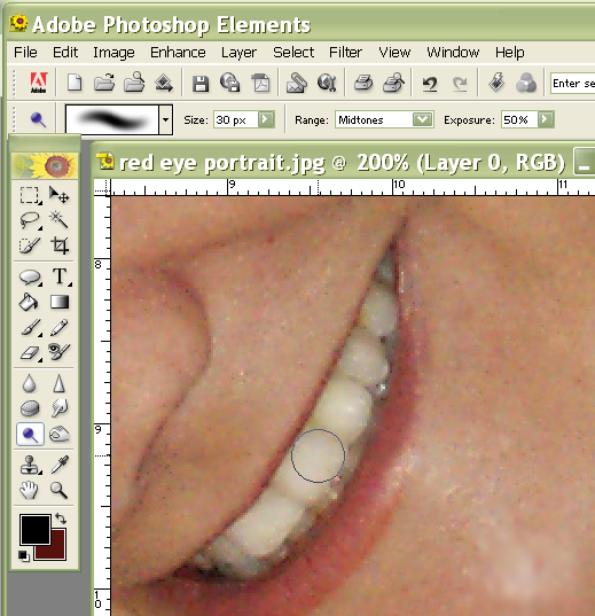
To achieve realistic results, it is best to make one ‘click’ at a time rather than clicking and dragging. This allows you to more accurately control the effect. Keep clicking one click at a time until you achieve the desired results. |
|
|
The Red Eye Brush and Dodge Tool can really improve your photos in a few easy steps. The edited photo is on the right. |
|

Written by Roseanne Miske. CottageArts, LLC, Copyright 2004, All Rights Reserved