michelle shefveland. supplies here
Hi everyone! Time for another digital art tutorial. For this one we’re doing some image cloning and adding texture, bokeh (soft blurred dots of light), and word art. Great techniques for creating collage art out of your photography. We also have new ideas for using texture and bokeh at the end of the post.
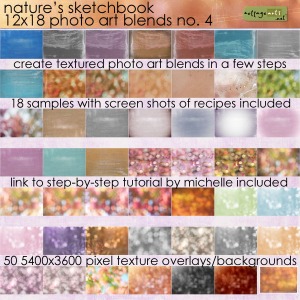
For the tutorial we’ll be using 2 different bokehs from our 4th set of Photo Art Blends and texture from our Naturals 13 Paper Textures.
Here’s a re-cap of my steps with Photoshop or PSE. A more advanced tutorial with sample recipes is included with each set of our Photo Art Blends for using them in your art.
Note: click on images below for enlarged view.
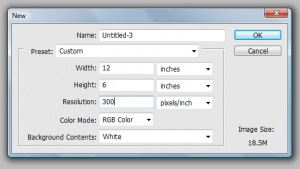
- Open background paper for collage or since I had a unique size (12×6) I created a new image (File>New>Blank File>desired size).
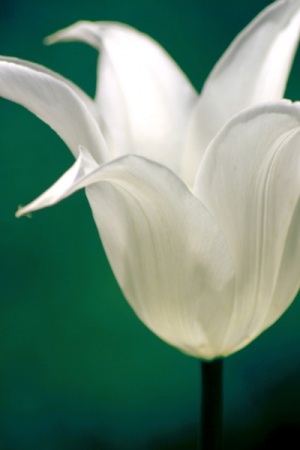
- Open Photo.
- Drag Photo onto layout. Resize and position.
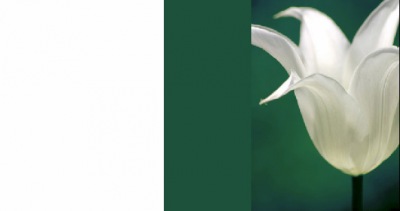
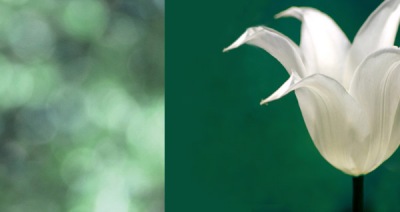
- For the collage I needed to extend the background which was an easy task since it was almost solid. I selected the Rectangular Shape Tool and used the Color Picker to sample a blue green from the left side of the image and drew a shape on the layer beneath the image.
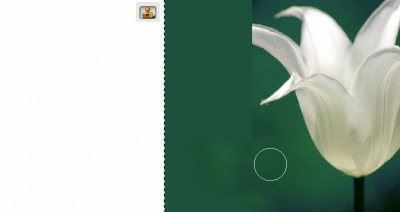
- After rasterizing the vector shape so it was editable (Layer>Simplify Layer) and merging it with the photo (select both layers; Layer>Merge Layers), I used the Clone Stamp Tool to blend the background. Move your cursor over a good area of your background. Hold down the Alt (Mac:Option) key. Your cursor will change to a crosshairs. Click to sample that area. Move to where you want to clone to and click. Repeat, repeat, repeat! Vary opacity of brush to blend. After a while this process will become second nature, but at first it seems awkward.
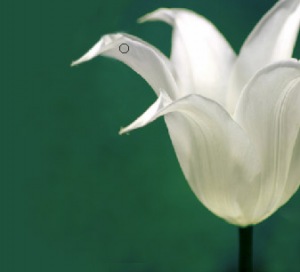
- To add the missing petal that was cut off on left edge I cut the front left petal end and pasted it on another layer, reduced its size, and blurred it a touch (Filter>Blur>Gaussian Blur>1) since it was more in the back of image where there was less focus. When I had it positioned where I wanted it, I merged these two layers (select both layers; Layer>Merge Layers).
- Then I went to work cloning as in Step 5. Tip: as you get closer to edges make your Clone brush really small. I always use the default soft edge brush; as you make it smaller it gets harder edges.
- Normally I don’t need to do image reconstruction because of my large image library, however, I had this image in my head!
- Add Bokeh to collage. Open 14 PhotoBlend4.
- Drag onto collage. Resize and position. Adjust color to complement image as I did. (Ctrl-U, Cmd-U on a Mac).
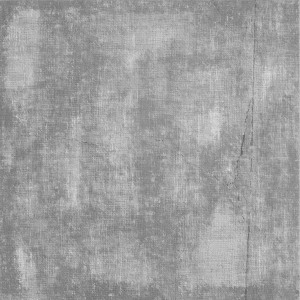
- Add texture to tulip image. Open 10 Naturals 13.
- Flip Horizontally (Image>Rotate>Flip Horizontal).
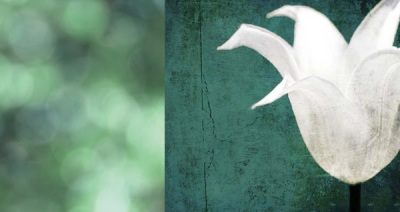
- Position texture over image. Set to Multiply blend mode erasing texture over tulip (or use layer mask).
- Save as layered PSD image to retain layers.
- Flatten (Layer>Flatten Image) to merge into one layer. Save this as a new name so you have the first part’s layers intact.
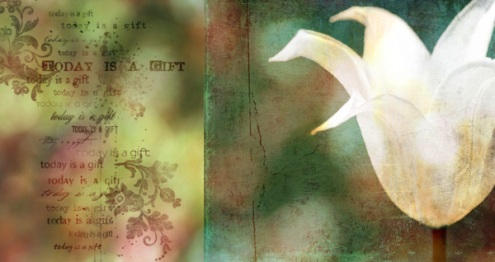
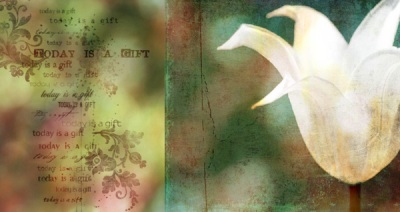
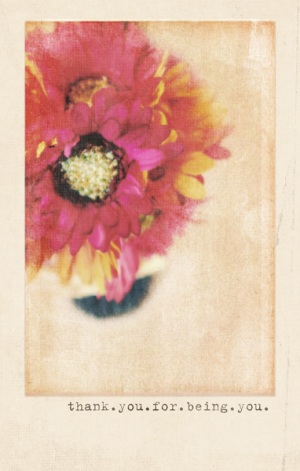
- So far the collage looks like this.
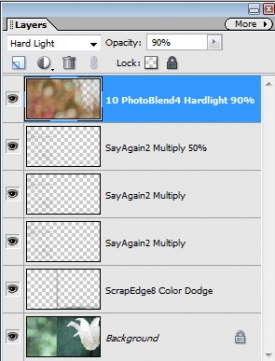
- Open #30 from set 4 of our Photo Art Blends; position over entire collage. For my sample, using Hard Light blend mode at 90% opacity added soft bokeh and color, again erasing over some of the white on the tulip with a soft brush.
- I also added a Scrap.Edge on Color Dodge blend mode around the tulip image.
- Open TodayGift SayItAgain2 Scrap.Word overlay. Position and size as desired. I duplicated the layer twice more, set all to Multiply (100%, 100%, and 50% opacity).
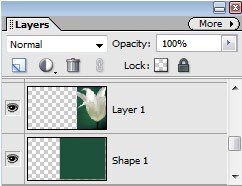
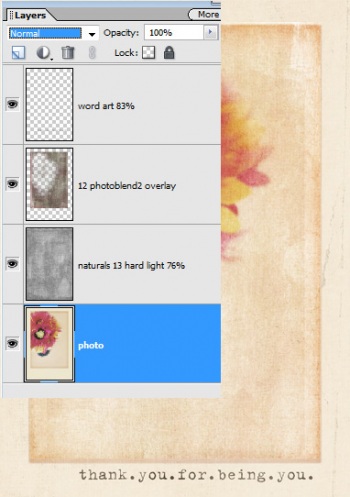
- Here are the layers that make up the collage.
- That’s all there is to it!
Below are more texture ideas to get your creative juices flowing!
Happy Creating! Michelle
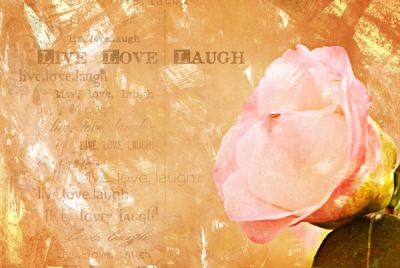
michelle shefveland. Painter’s Canvas 3 (#03 on hard light), Say It Again Scrap.Words 2 (multiply)
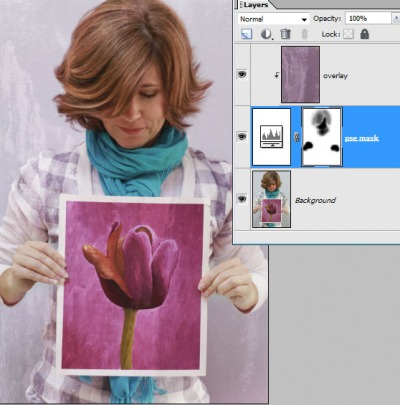
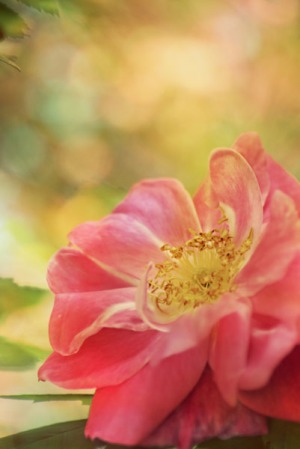
michelle shefveland. Nature’s Sketchbook Photo Art Blends 4 (#03 on overlay)
michelle shefveland. Nature’s Sketchbook Photo Art Blends 4 (#30 on overlay)
michelle shefveland. Nature’s Sketchbook Photo Art Blends 2 (#12 on overlay), Naturals 13 (#10 on hard light 76% opacity), Buttons and Blooms (word art)

