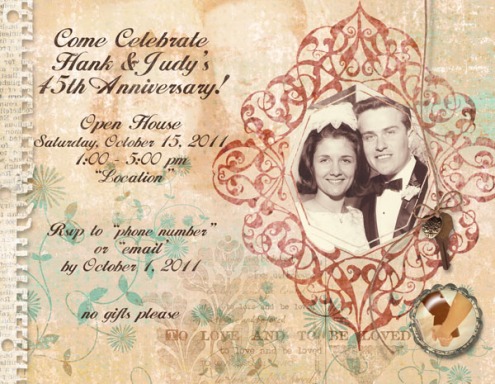
michelle shefveland. simply friendship pak, say it again 2 scrap.words (to love), this is life 2 scrap.words (ornate frame)
Hi all! Just finished designing a custom postcard invite for my mom and dad’s 45th anniversary party and thought I’d share a little tutorial on how you can make your own, too.
Making a custom design not only allows you to add personality to the invite, but can also be quite economical depending on size/shape/print vendor. For example, VistaPrint’s standard postcard size (5.5 x 4.2) is just $.19/each for 100 and their jumbo postcards (8.5 x 5.5) are often priced as low as $.29/100. I’ve been printing holiday cards with them for years and am very satisfied with their quality. They offer many upgrade options such as paper type/cardstock to fit any budget. The two things I do not care for are the high shipping costs for anything less than 2 week turn-around-time, as well as all of the cross-selling they present to you during the checkout process. The former can be avoided by signing up to be on their e-promotions list and watching for Free Shipping specials. These seem to occur about once per month and more often around the holidays.
Here’s how to design a custom invite using Adobe Photoshop Elements (Adobe Photoshop follows similar steps):
- Download Photoshop format (psd) design template for specific size/product you want to design from your preferred print vendor (almost all have downloadable templates to fit their specifications)
- Unzip design template
- Open design template (File>Open>browse for design template>OK)
- Open paper for background (invite used paper from Simply Friendship Pak)
- Drag paper onto design template. Position and size using Move Tool as desired, as it’s much larger than the template.
- Open photo/photos desired. Repeat Step 5 for photos.
- Open embellishments/overlays (most from Simply Friendship Pak). Repeat Step 5 for embellishments.
- Select Type Tool from Toolbar. On invite, draw text box where you want text.
- Choose font, font color, and font size (invite used JohnHancock, size 13-20 pt, color #482f25)
- Type party information. Adjust leading (spacing between lines) as needed. Journaling tutorial and free quick page download on our site here.
- If desired, simplify type layer and distress with eraser tool and distressing brushes (Grunge Paints 1, 2, or 3)
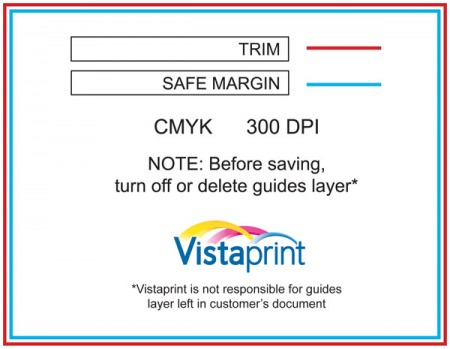
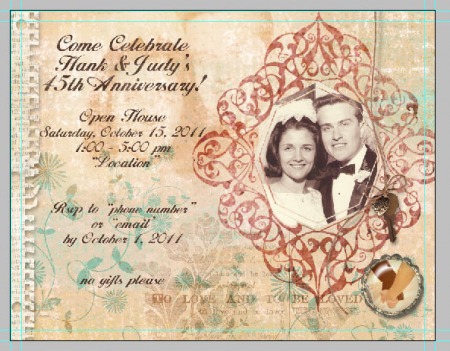
- Important note: keep all important elements, photos, and type well within safe margins shown by blue guidelines
- Save as layered psd to edit at later time. Save also in preferred format for print vendor, such as pdf, tiff, psd, or jpg. Here are VistaPrint’s.
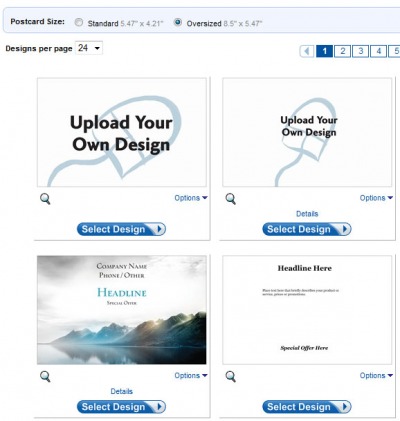
- Choose custom design card type from print vendor. Like this jumbo postcard from VistaPrint.
- Upload to print vendor and follow instructions for ordering. Note: VistaPrint normally charges a $5 fee for custom designs.
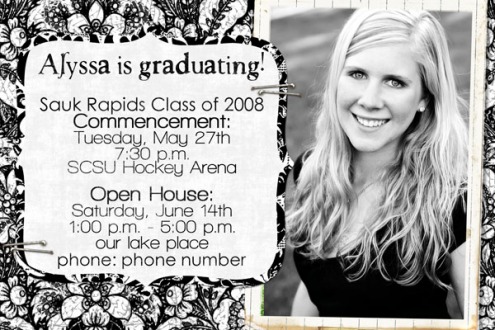
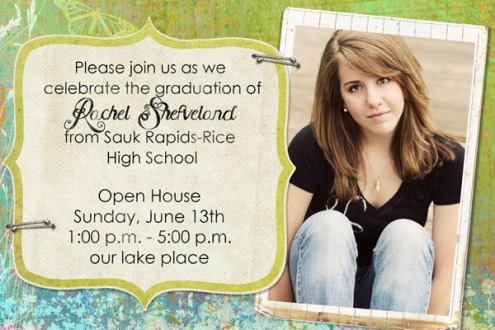
Another even simpler and more affordable option is to design your invite as a standard 4×6 photo, save as a jpg file, and upload to your favorite image lab. I did this for both Alyssa and Rachel’s grad party invites. Shutterfly allows you to pick-up at a local Target.
invite template available in blanc de noir elements
Our preferred hometown lab also offers 4×6 envelopes at an additional fee. For $.28 per invite plus envelope, we can design a card, upload to our local lab, pick-up within an hour, and mail out the same day. How convenient is that???
nature’s garden papers, world travels (frame,staples), sweet midori (mat)
If your budget allows, 4×8 or 5×7 cards are another beautiful option. VistaPrint, Snapfish, and Shutterfly offer custom design uploads in these sizes (just to name a few). As stated before, I use WHCC for my client printing. Below are a few I designed for recent photo shoots, plus a coordinating 12×12 print to frame for a grad party. So many possibilities with digital printing!
just sayin’ pak, scrap.templates 20 (modified size to 4×8)
scrap.templates 20, this is life scrap.words, just sayin’ pak
Happy creating! Michelle

