michelle shefveland. simply love papers, elements & sentiments
Let’s make some photo transfer art.
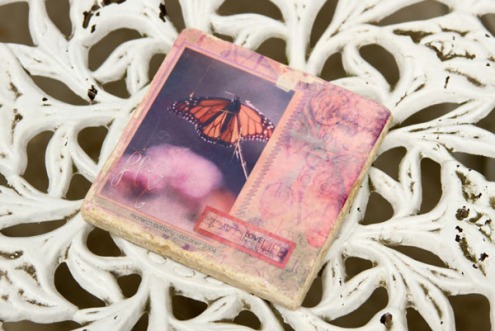
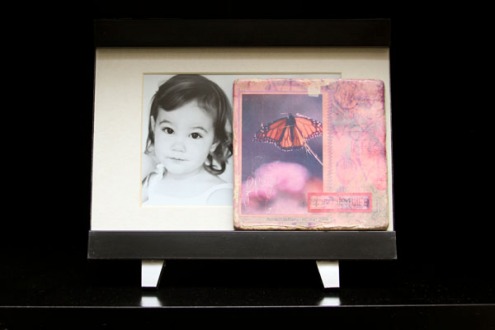
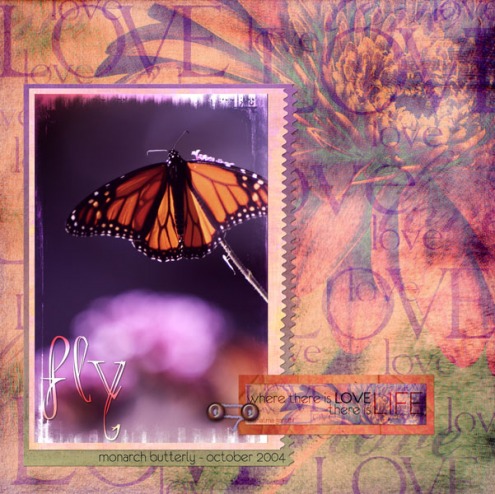
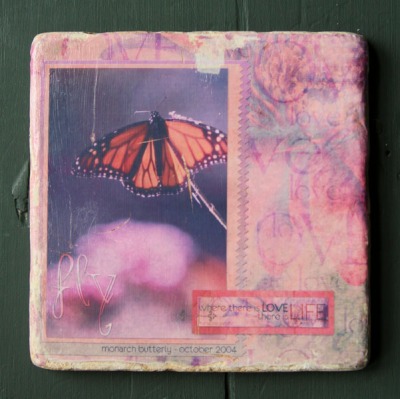
With scanners and digital cameras now commonplace, producing eye-catching personalized art with inkjet printers and specialty papers is just a click away. Making jewelry with photos from your personal library or ready-made vintage collage images is both beautiful and satisfying. The list is endless on what you can create with these powerful tools as your aid: scrapbook pages, memory art tiles (as shown above and below), jewelry, wall art, decorative ornaments, and so much more.
It used to be that to get a great photo transfer you had to go to your local copy center to get a toner color copy made of your photo, buy special chemicals, and use trial and error burnishing techniques. However, quality inkjet transfer papers of many variations are becoming prevalent and easy to find at craft retailers, producing quality results. Experimentation may still be necessary to get the preferred result, but with easy access to your home printer, it is convenient and forgiving.
Common types of specialty inkjet papers for crafting are iron-on transfers, decal paper, vellum sheets with adhesive, inkjet transparencies, photo transfer papers, plastic inkjet film, just to name a few. Each product has its own idiosyncrasies, qualities, and instructions, however, most function in the same way: prepare images for printing in image editing software, arrange in a print layout, print onto the specialty papers, and adhere to the intended surface. In general they produce the same end result: a semi-transparent image adhered to a specific media.
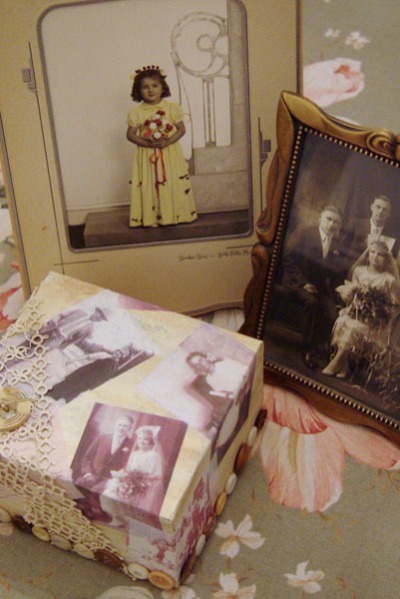
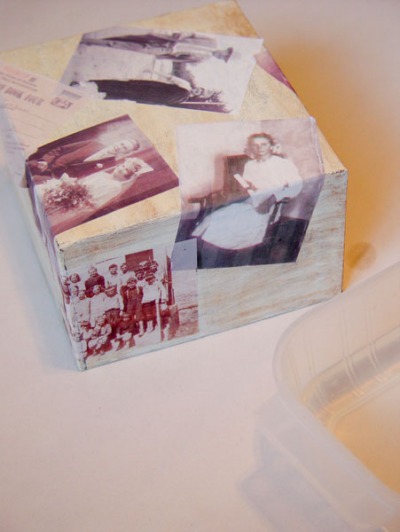
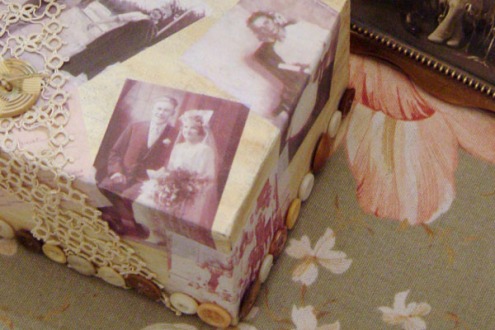
Below I’ll take you step-by-step in creating a photo transfer memory box with Adobe Photoshop Elements and Lazertran Decal Inkjet Paper, using photos and memorabilia of my grandparents. The art tile above follows similar steps.
michelle shefveland
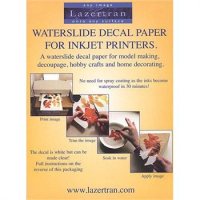
Lazertran does not need to be sprayed with a cover coat like other inkjet waterslide decals; the ink become waterproof after 30 minutes allowing the decal to be put in water without the colors washing away. It is an eggshell white decal that can be made clear by the application of any oil-based varnish, such as polyurethane.
Supplies/Tools for Photo Memory Box:
- Sturdy gift box or paper mache box (size your preference)
- Vintage photos and memorabilia in digital format
- Lazertran Waterslide Decal Paper for Inkjet Printers – 8.5×11 sheet
- Antique White Acrylic Craft Paint, Plaid
- Antiquing Medium, Plaid
- Vintage Buttons
- Vintage Lace
- Perfect Paper Adhesive, USArt Quest
- Scissors or Paper Trimmer
- Hot Glue Gun
Instructions:
Open Adobe Photoshop Elements
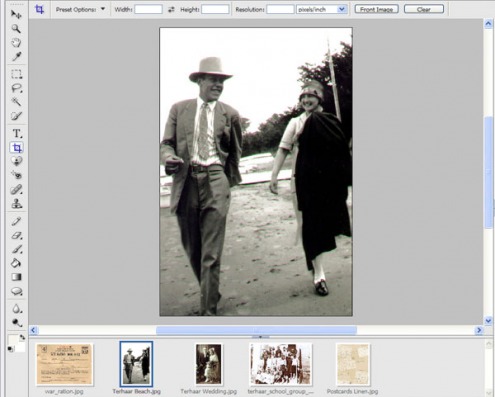
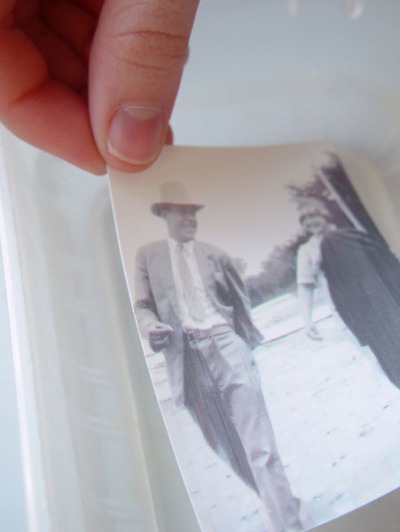
Open the images by choosing File, Open and browse your system for the photos and/or memorabilia you want to open. Select each file and click Open. We opened six different images including a scanned war ration certificate.
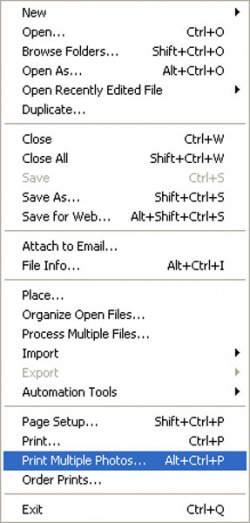
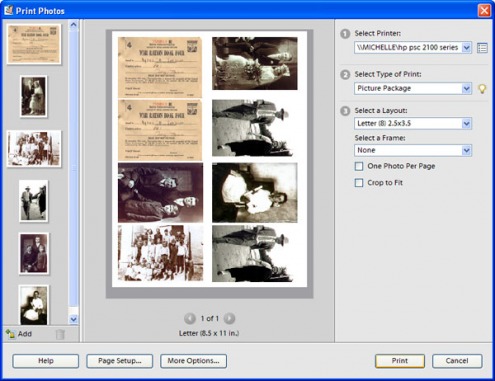
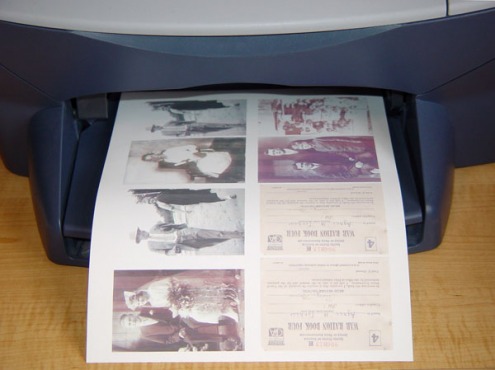
Choose File, Print Multiple Photos and, from the Select Type of Print list, choose Picture Package.
Choose a layout like Letter (8) 2×2.5. Drag and drop the images into the boxes on the page. Duplicate some, if desired, to fill the page and reduce waste.
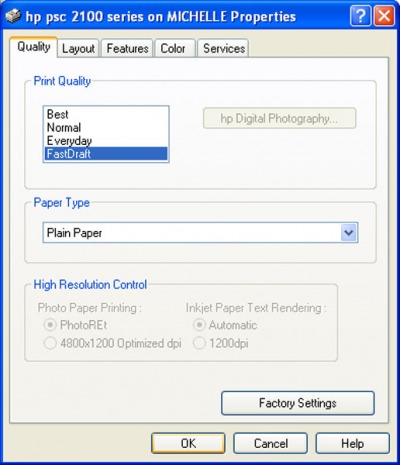
Set Print Settings using Plain Paper type and Draft quality, so as not to apply too much ink.
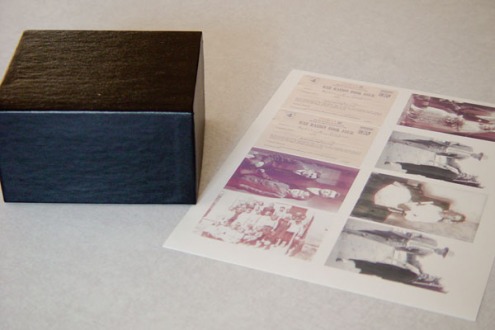
Print the image onto the creamy side of the decal paper. Leave to dry for the recommended time.
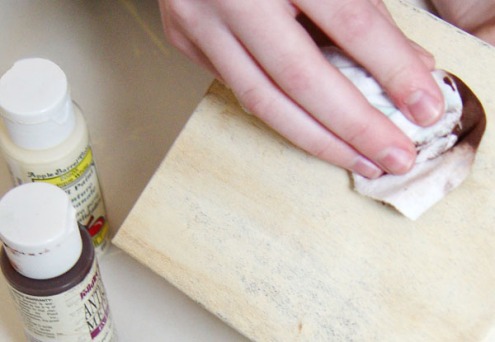
Prepare gift box or paper mache box by painting one or two coats of antique white craft paint.
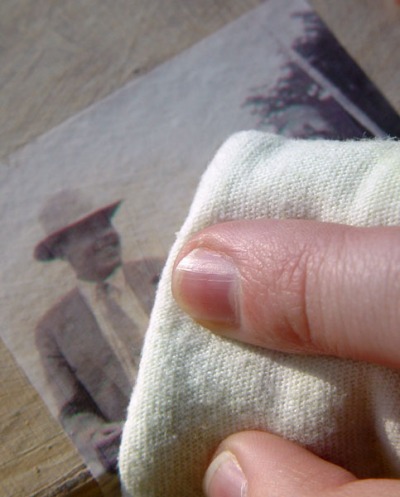
Let dry. With a cotton rag, wipe antiquing medium across the box and quickly wipe off with a damp clean rag, giving an aged patina. Allow to dry.
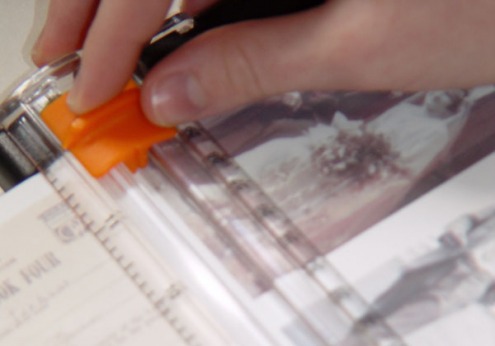
Using scissors or paper trimmer, carefully cut around the edge of the images on the decal paper.
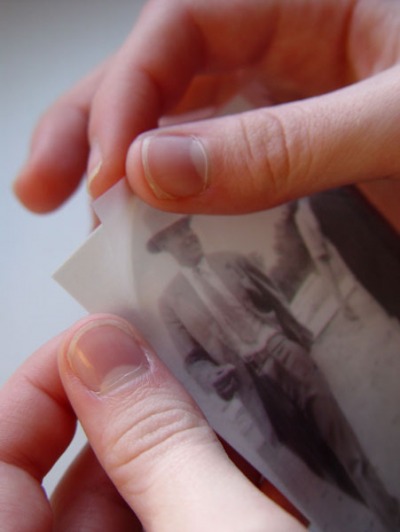
Prepare a shallow warm water bath. Immerse the decal in water for approximately 15 seconds until the backing paper lifts away from the decal.
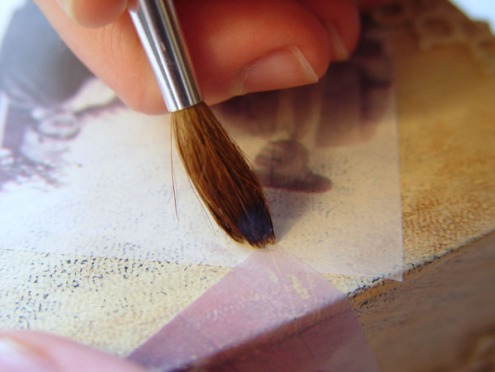
Lift the decal and place it carefully on the box taking care to remove any air bubbles. Flatten the image so it adheres well to the box, wrapping around corners if desired.
Smooth the image gently with a damp rag or sponge. Repeat for all the decals and set aside to dry.
Where the decals overlap, you may need to adhere with a small amount of craft glue.
For a finishing gloss and more durability, you can apply a clear varnish (or Mod Podge, Perfect Paper Adhesive, Diamond Glaze).
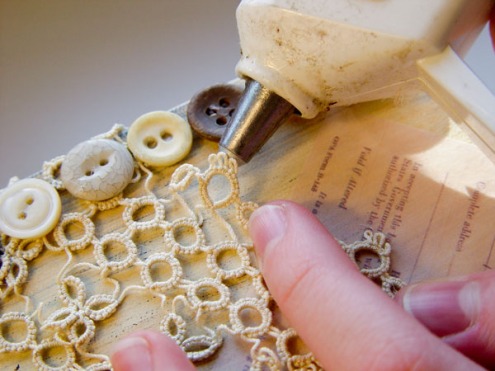
Adhere lace and buttons with a hot glue gun.
For the art tile at top, we created a digital collage with Photoshop Elements (or any image editor that supports layers).
michelle shefveland. simply love papers, elements & sentiments
Print it on Lazertran as above, setting the print size equal to the size of your tile (we bought a box of 9 – 4″ unsealed natural stone tiles at Home Depot). Trim and adhere to tile as directed for memory box.
Voila! Instant photo transfer art tile.
Note…these are very delicate, so are for display purposes only.
FYI…Diamond glaze, Perfect Paper Adhesive, and Glue Dots (for dimensional embellishments) are durable adhesives to consider using in these projects. In my own experience, finding the right bonding agent for a particular medium is crucial to a successful finished piece. And, as always, taking time to play and experiment without expecting perfection will enhance the creative process.
Happy creating! Michelle

