michelle shefveland. spring green pak, click.masks 27
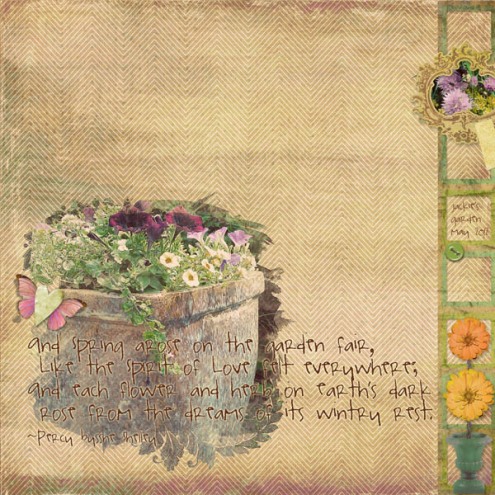
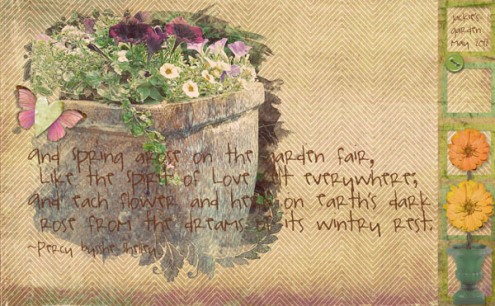
In this layout of my aunt Jackie’s pretty little potted garden, the word art was positioned over the photo and needed some pop so it could be more readable without being distracting. An easy technique to achieve this was adding a subtle Outer Glow Layer Style to the word art.
Here’s how it looked before the Outer Glow was applied…a bit hard to read.
To add an Outer Glow Layer Style in Adobe Photoshop or Photoshop Elements:
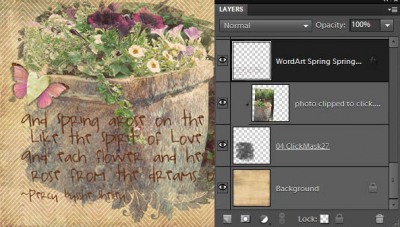
- Select Word Art layer in Layer Palette
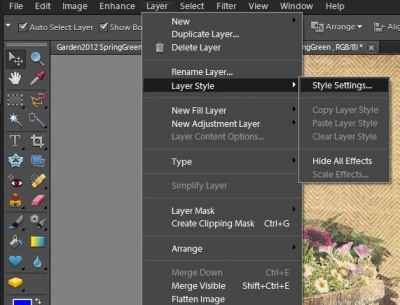
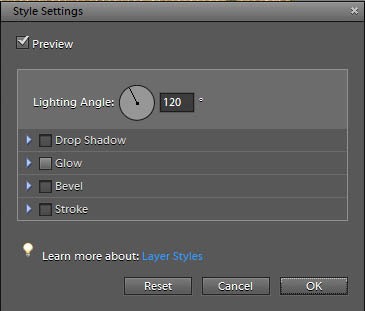
- In Photoshop Elements 10, select Layer>Layer Style>Style Settings
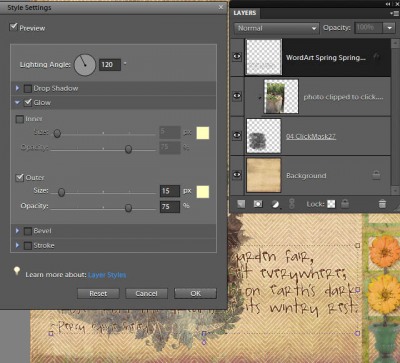
- In Style Settings Dialog click on Glow box
- In expanded dialog check Outer and adjust Glow settings
- In our sample we set it to Size 15 at 75% Opacity
- To adjust the color of the Outer Glow effect (we left it in the default yellow), click on the color box to the right of the Outer Glow adjustment settings. Choose color and Select OK.
Note: in Photoshop select Layer>Layer Style>Outer Glow>Adjust Settings>OK
That’s all there is to this quick how-to! Experiment with varying colors, opacities, and size for different effects.
See our Word Art Sticker how-to for a more pronounced, whimsical effect.
Keep learning!
Michelle

