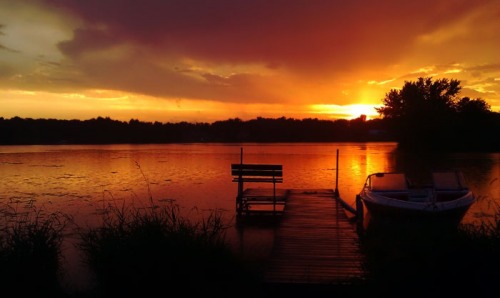
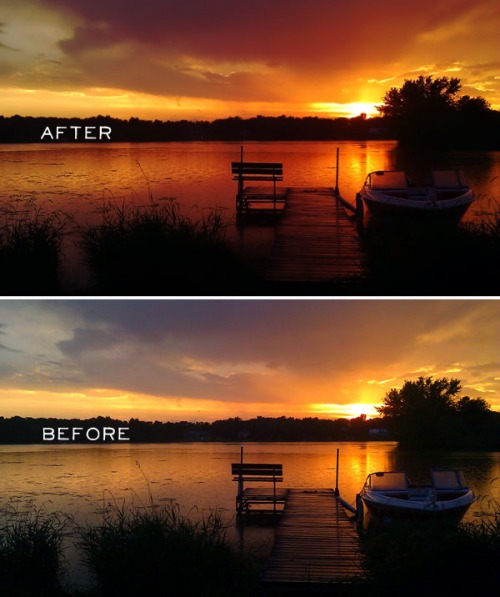
michelle shefveland. shot with HTC MyTouch4G cell phone. editing how-to below
As autumn approaches, warm golden light images are on my mind. Lots of idea sharing below, plus a fun tip on how to easily give your light-filled photos a boost in Photoshop/ Photoshop Elements.
We are fortunate to have a summer retreat with a big sunset view over a lake. Each evening I am in awe of the unique gift presented to us. And neighbors often witness me running out to capture the skies, with whatever camera I can grab first…be it the cell phone, point and shoot (Canon S95), or Canon 7D…any one of them is fabulous at capturing skies and sunsets. So I’ve shot lots…and lots of sunsets.
Here are a few tips I’ve learned along the way (all images shown were shot at our lake place over the past four years with various cameras)…
Set your camera to cloudy white balance for vibrant, warmer hues. Or increase the saturation on your cell phone camera settings.
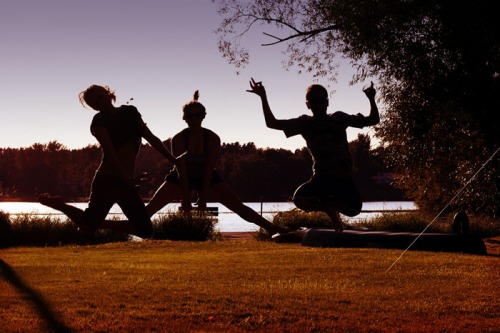
Add people for interest. When looking at the whole scene, your camera will naturally silhouette figures in the foreground, as well as trees and grasses. This is because the sky is SO much brighter and the camera thinks there is a lot of light. Our family likes to have fun being silly. This shot below captures that characteristic. Tip: when shooting movement in such low light settings, bump up your camera’s ISO to increase the shutter speed.
shot with canon 7d
If you are focusing/light metering on your subject and you want them silhouetted, you will need to adjust your exposure compensation very low and depending on the light in the background, it could be up to -2 EV. This is really trial and error because the light levels change quickly during a sunset.
Try different angles, lie on the ground, get high on a hill, move to the end of a dock, shoot in front of trees or grass, etc.
shot with canon 7d
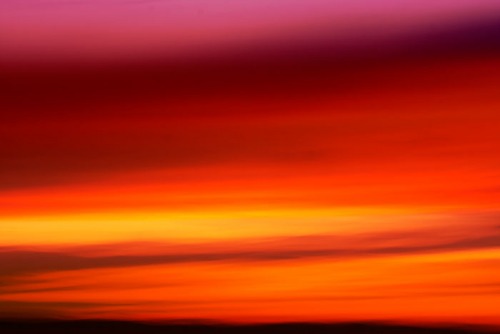
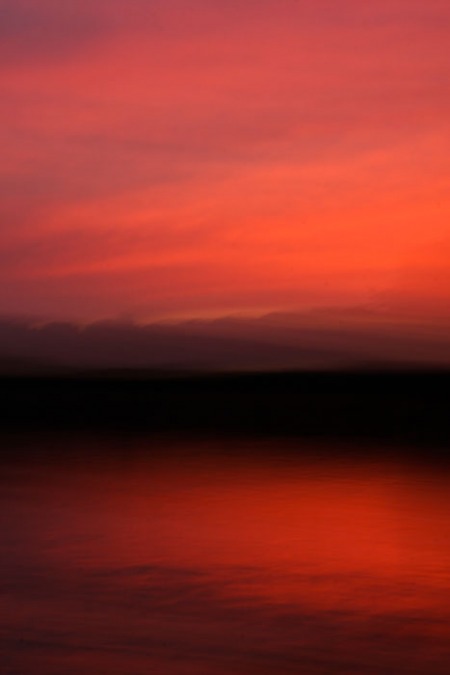
Experiment with blur and moving the camera. See more ideas and tips on abstract blurs on our blog here. If you have an image stabilizing lens turn that function off, as well as any image stabilizing setting on your camera (even cell phones have this feature).
shot with canon 40d in june, 2009. iso 125, shutter speed .4 seconds, set on tv mode
shot with canon 40d in june, 2009. iso 200, shutter speed .6 seconds, set on tv mode
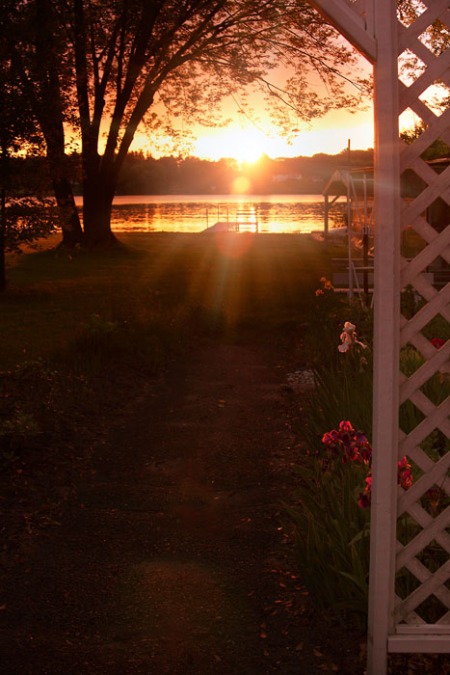
Play around with varied levels of sunset. Often the most vibrant hues are about 15-30 minutes AFTER sunset, as shown above. And, beautiful sunflare is easier to capture with the sun higher in the sky as below.
shot with canon 40d in june, 2009
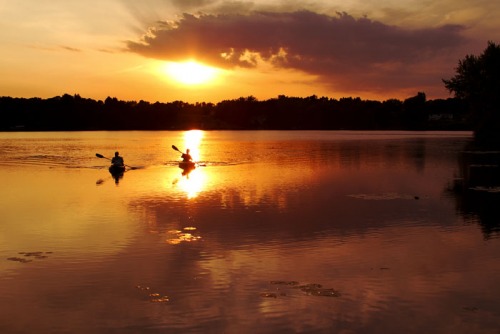
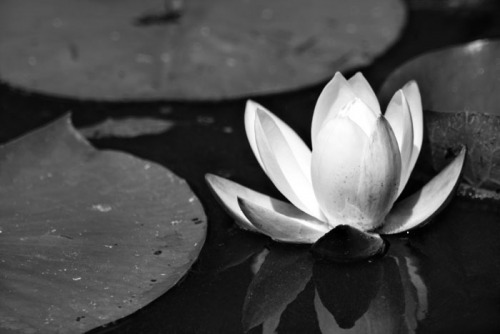
Get out on the water itself…in a kayak, canoe, boat, whatever. You can reach out and touch the reflections, as in this black and white water lily image shot right at dusk.
shot with canon 40d in june, 2009
Our little editing how-to today will use two simple shots from a cell phone camera, demonstrating how anyone can achieve this type of image. No need to have a big DSLR. Light, composition, and subject matter are key. Editing done in Adobe Photoshop Elements 10, however, most versions of PSE, PS, and Paint Shop Pro would all follow similar steps.
My current cell phone is a HTC MyTouch4G Android system. Love it. With an 8MP camera, it also has touch screen focus and light metering…amazing. I find I now try to automatically do the same on the back of my Canon 7D! Sure, it is nothing compared to a DSLR, however, it is always with me and when using light to my advantage, the results can be quite spectacular.
We use DropBox to automatically transfer cell phone images to my computer system where we have easy access to use them in our digital artwork.
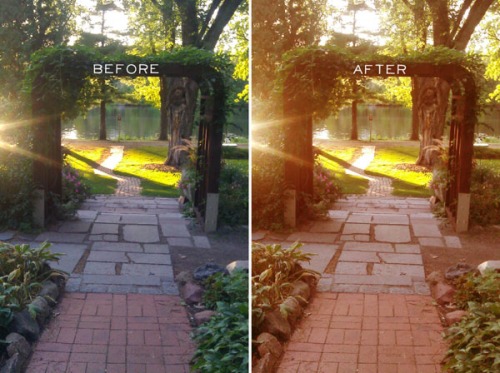
This image was shot at Munsinger Gardens, St. Cloud, Minnesota (overlooking the Mississippi River) on September 14, 2012 at 6:48 pm. Sunset was 7:05 pm. I like the shadow play and light hitting the cobblestone path. But it’s quite drab and cold, as shadows close to sunset are very cool. Let’s boost it a bit.
Open Adobe Photoshop Elements
Open Photo (File>Open>Browse system for Dropbox folder)
Now for the super easy effect.
Use shortcut D to set the color chips to their default of Black and White.
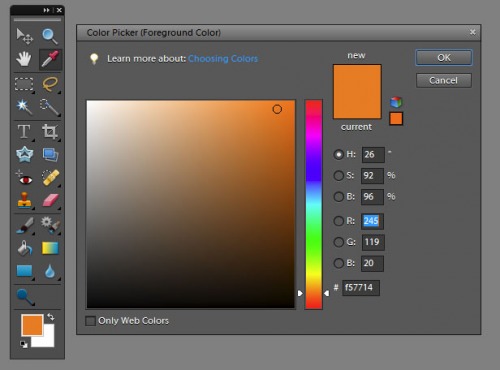
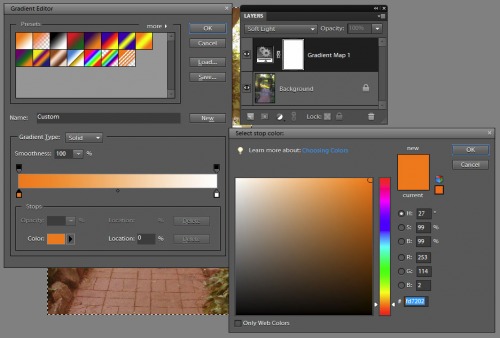
Make the foreground color chip a bright orange. Click on the color chip and enter color number F55714. Click OK to set color.
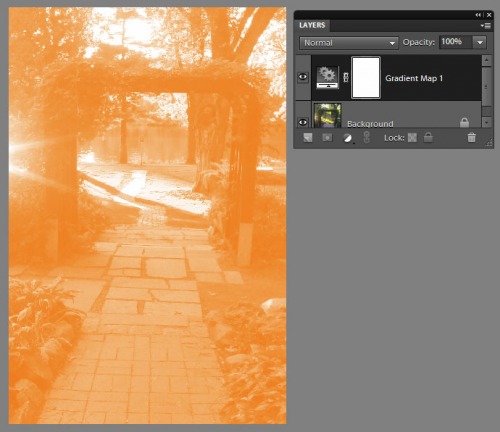
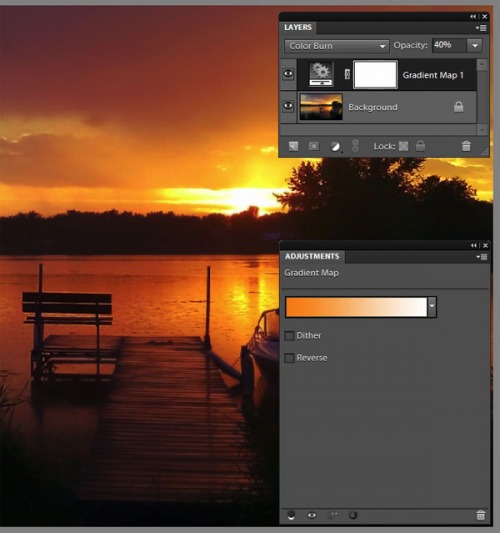
Add a Gradient Map adjustment layer (Layer>New Adjustment Layer>Gradient Map) to the Layers Panel.
It will look pretty weird at this point…no worries!
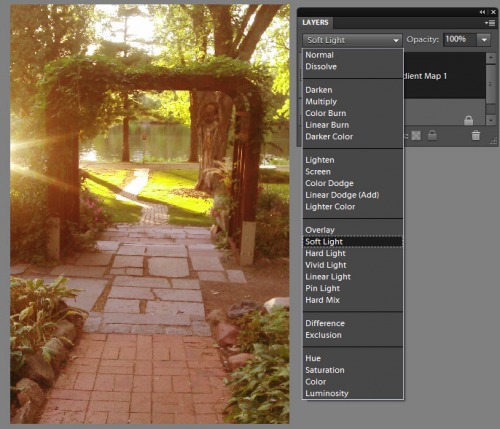
Now, simply set this Gradient Map to Soft Light blend mode.
Ta da! That’s it.
Here’s the before and after. A nice subtle, realistic transformation.
Now let’s see a bit more of a dramatic change.
This image was taken in central Minnesota on July 13, 2012 at 8:48 pm. Sunset on that day was 8:58 pm. It had just started drizzling with the sun peaking out of the clouds, making for dramatic colors and light. All I had on me was my cell phone camera and it didn’t let me down.
I followed the same editing steps as above, however, set the blend mode on the orange-white gradient map to Color Burn at about 40% opacity. Play around with the opacity as Color Burn is intense.
Note: One thing to be aware of is cell phone camera photos are often noisy in the shadowy parts of the image (as of 2012). I reduced the noise (Filter>Noise>Reduce Noise>play around with settings) and added a duplicate layer of the image. To this duplicate I applied a small Gaussian Blur (Filter>Blur>Gaussian Blur>1-2 pixels). I set this blurred layer on Soft Light Blend mode.
So that’s all there is to it! Play around with shooting and editing sunset shots and see how creative you can be!
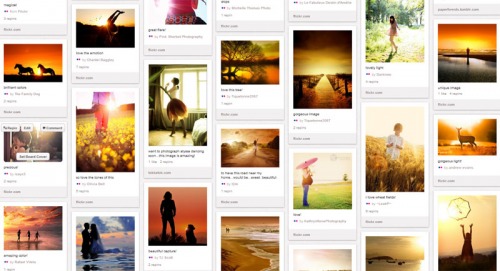
As added inspiration, see our golden light loves Pinboard here.
Golden Love element tip: Experiment with Color Burn or Linear Burn blend modes with our elements to give them a boost when paired with autumn hues (as done on the layout below).
everyday autumn elements, fresco 2 papers, click.masks 32, this is life 5 scrap.words
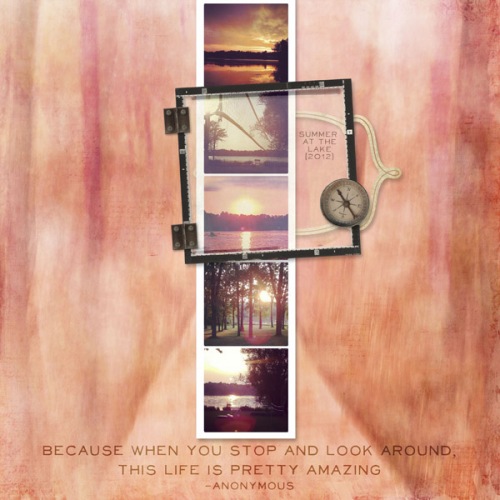
With instagram and our Photo Booth Strip Templates, I tried to instill in the collage below the peace of being able to experience such beauty.
michelle shefveland. frame blends 2, off the beaten path 13 papers, photo booth scrap.templates, letting go pak (hinges), words to live by
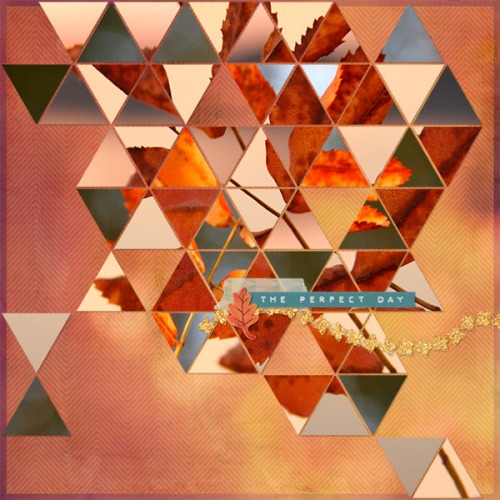
Here’s some modern art I just made using some sunset images of golden autumn leaves with our new ShapeBlends geometric templates. So fun. They come with a PDF step-by-step tutorial, so you can easily get similar dramatic results!
michelle shefveland. shapeBlends 1, everyday autumn elements, fresco 2 papers
Happy golden light shooting! Michelle and team

