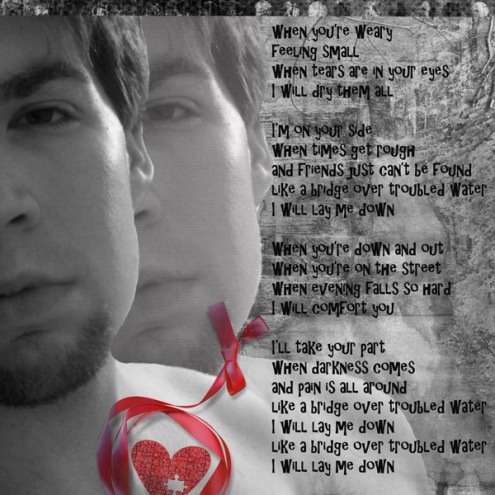
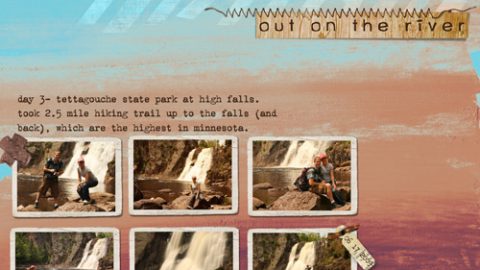
michelle shefveland. supplies: Everyday Papers 1, Positivity Scrap.Words, Simply Faith Scrap.Words (sunflare)
It’s about time for another tutorial! Today I’ll share how to replicate the technique showcased on these pages: Cascading photos.
tonya regular
fyi…all layout details can be found here in our team gallery.
beth ervin. photo credit: sxc.hu
The concept is straightforward…take one masked/extracted subject and cascade it in decreasing opacity across the page.
Here’s how in Adobe Photoshop Elements (Photoshop and Corel Paint Shop Pro follow similar steps).
- Open Photoshop Elements
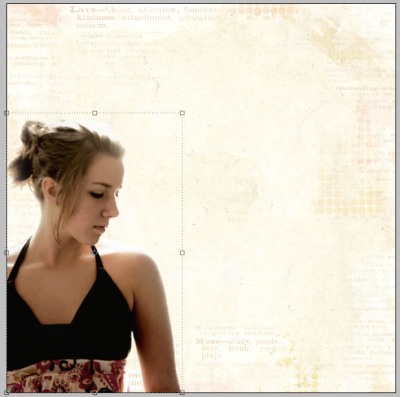
- Open desired photo for technique. Choose a subject that can easily be extracted. Look for strong lines between subject and background for easier extraction. I chose a backlit, soft image…adding to the ethereal effect I was trying to achieve.
- Using favorite extraction technique, remove background from image. See my past tutorial on extracting here. If wanting to mask out your background, see my technique article in the latest Somerset Memories on mimicking a layer mask in PSE.
- Open digital 12×12 paper. You will most likely prefer a subtle collage pattern for this type of layout.
- Drag extracted subject onto paper. Position and size as needed.
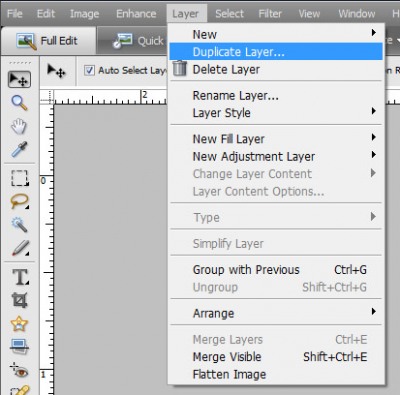
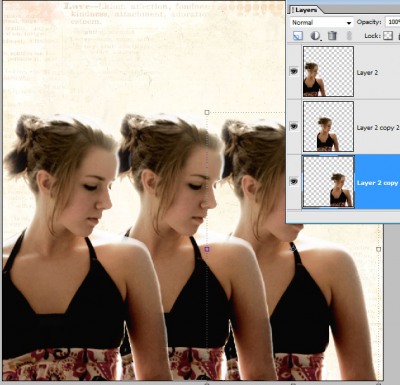
- Duplicate photo layer twice or how ever many times you want (Layer>Duplicate Layer>OK).
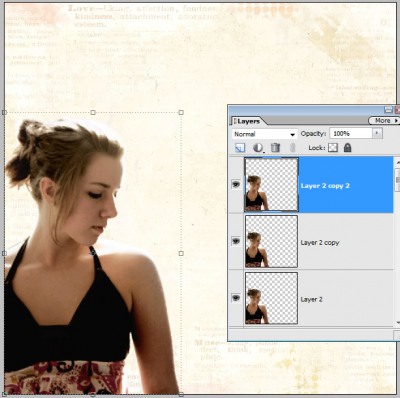
- Using Move Tool, slide each duplicate photo layer over to the edge of original photo layer and then edge of second photo layer and so on.
- In Layer Palette move each layer beneath the one that should be above it as shown above.
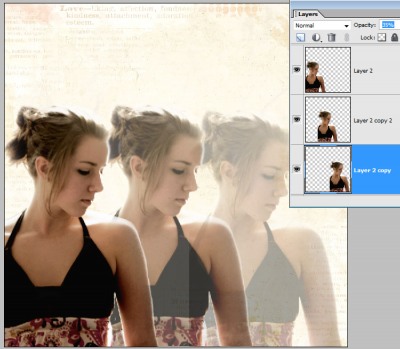
- Decrease opacity of second photo layer to about 70% and third photo layer to about 35% or until desired effect is achieved. Note: in PSE and PS you are unable to Auto-Select/Move a layer using Move Tool and Mouse/Pen Tool if less than 50% opacity, so you may need to increase opacity to move a layer and then decrease it again when in right position. Otherwise use the arrow keys to move it.
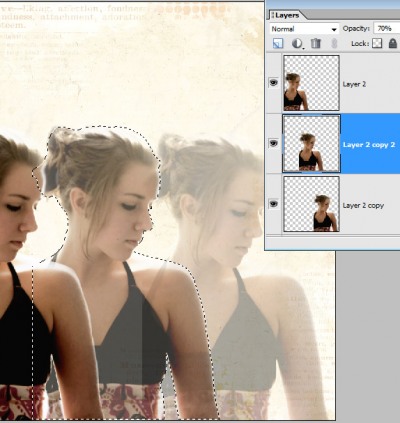
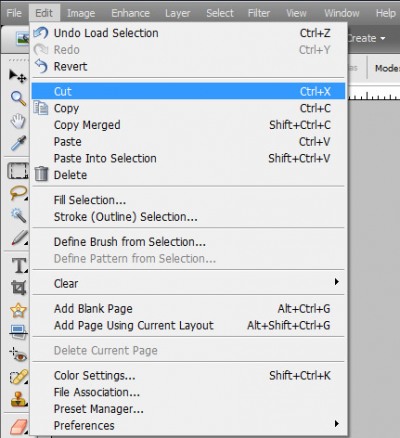
- Since these layers are somewhat transparent you’ll want to remove the area where they intersect. A quick method for me is to Ctrl-Click Select (Command-Click for Mac) on layer thumbnail in layer palette the second photo layer so marching ants are around it.
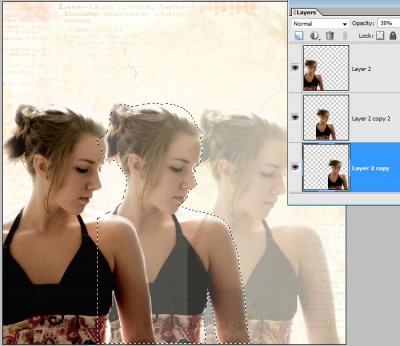
- Click on third photo layer to make it the active layer and remove intersecting selection by cutting it (Ctrl-X on PC, Command-X on Mac).
- Add word art, brushwork, elements to complete layout.
Watch for the next blog post when I’ll give away the scattered bubble brushes used on this layout. You can be notified of new blog posts by signing up at top right. 🙂
Enjoy! Michelle

