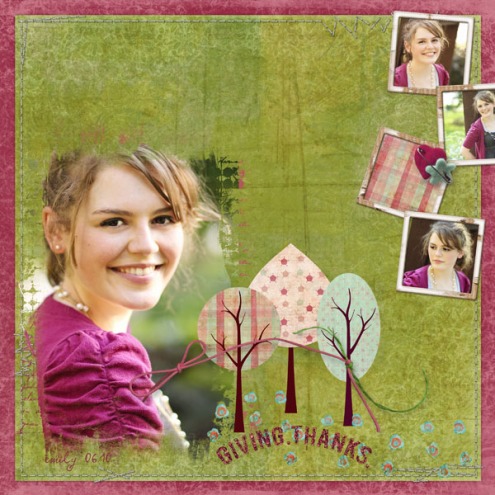
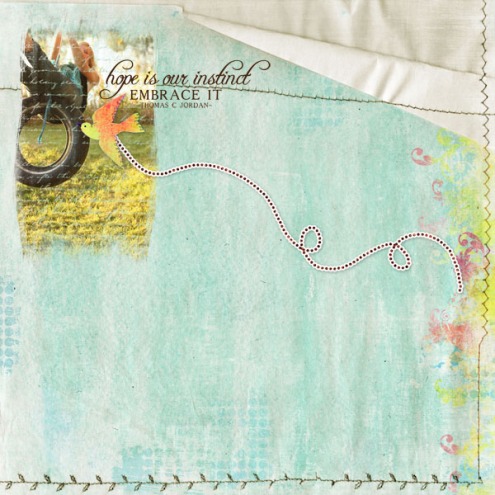
michelle shefveland. coming home papers, coming home elements, click.masks4, scrap.frames 7, scrap.templates 18
Hi everyone! We’ve been adding lots of Click.Masks to our store recently, so wanted to share a little how-to for some creative uses and ideas for them.
Here’s a quick run down of using our Click.Masks with Photoshop or PSE. A more detailed tutorial using clipping masks of any kind can be found here.
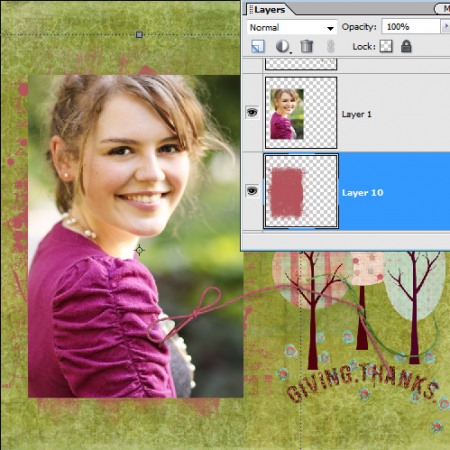
- Create layout by opening papers, elements, and photos. Drag all of these onto your paper and size/position as desired.
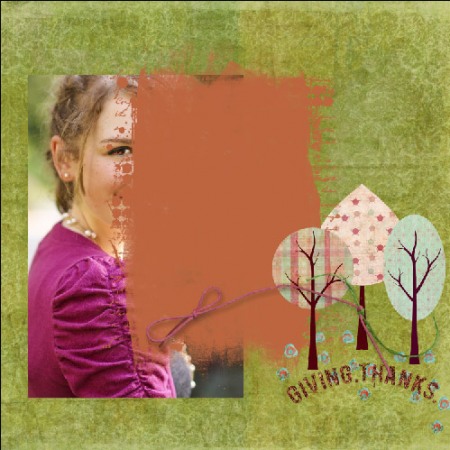
- Open the desired Click.Mask. Drag it onto your layout and position over photo.
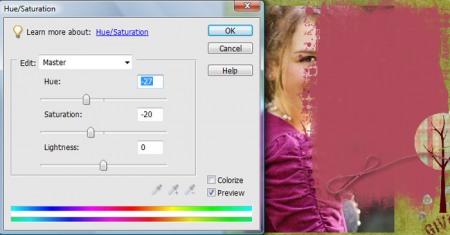
- If the Click.Mask is not black, change the color to complement the layout so any part of it outside of the image shows in that color (shortcut Ctrl-U, Command U on a Mac). Note: to change the color of black Click.Masks see our tutorial here.
- Size your Click.Mask as desired using the Move Tool. On most Click.Masks you may want the entire mask to fit inside the photo edges, so the photo picks up the creative edge of the mask. For this one, though, I wanted a bit of the paint splotches to fall outside the edge. It’s up to you, so size accordingly and you can always resize either later and see what you like best.
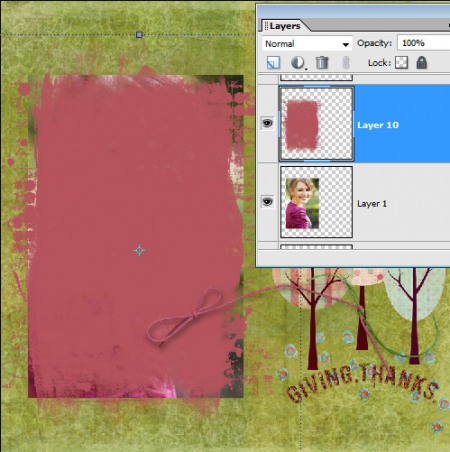
- Move Click.Mask beneath image in Layer Palette.
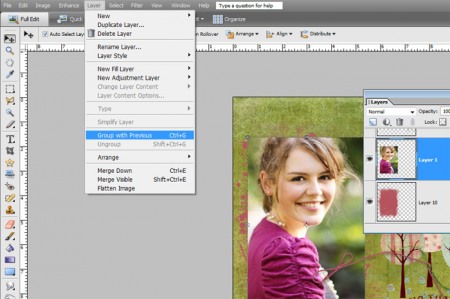
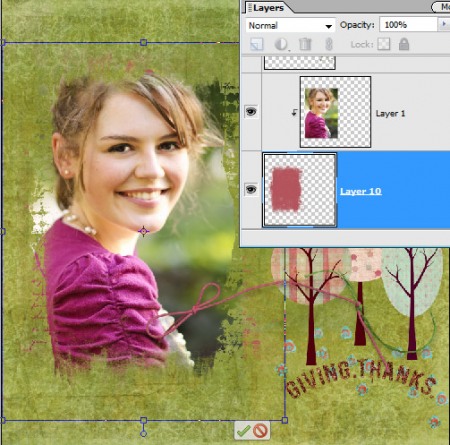
- Choose Layer>Group with Previous to clip image to mask (shortcut Ctrl-G, Command-G on a Mac).
- That’s all there is to it!
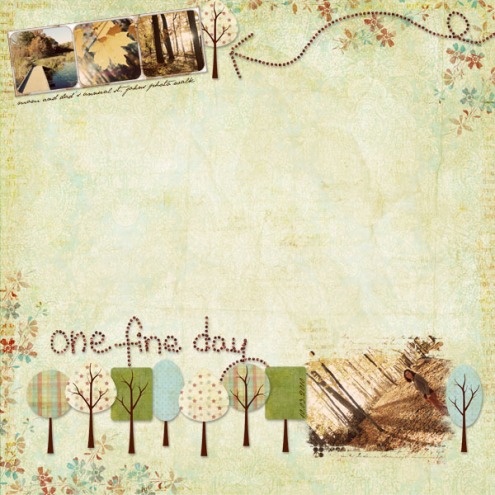
Speaking of our new Coming Home series…vary the size of the trees to mix it up! Rachel below makes an adorable mini-tree focal border, as well as a mini sized Click.Mask. More ideas following.
Happy Creating! Michelle
rachel shefveland. coming home papers, coming home elements, click.masks4, scrap.frames 11
rachel shefveland. supplies here
michelle shefveland. coming home papers, coming home elements, click.masks4
michelle shefveland. supplies here

