michelle shefveland. scrap.templates 8 (great for panos!), outdoor adventure stickers
Hi all! Kris here today with a fun cell phone how-to…
Without a doubt, photographers are huge winners of the smartphone competition between Apple’s iPhone (IOS), Google’s (Android), and Microsoft’s Windows Phone. Just recently Nokia announced a 41 Megapixel camera on its most recent Windows phone the Lumia 1020! Perhaps the coolest new feature these smart phone cameras and apps have is fast and simple panoramic shots. On our recent trip to Montana, we couldn’t resist at least one panorama shot every place we went and usually more than one.
This post is going to focus on the Panoramic capabilities of the most recent versions of IOS (6.0) and Android (4.2). The process is so simple, you can’t help shaking your head in amazement the first time you try it. Here are the steps for both phones. If you are using an older iPhone or Android version, see the bottom of the post for third-party apps that can give you great end results, although not quite as simple to use. Again, keep in mind that you’ll need IOS 6.0 or later or Android 4.2 or later to use the approach shown in this post.
iPhone
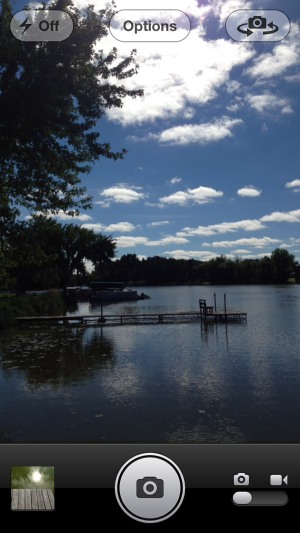
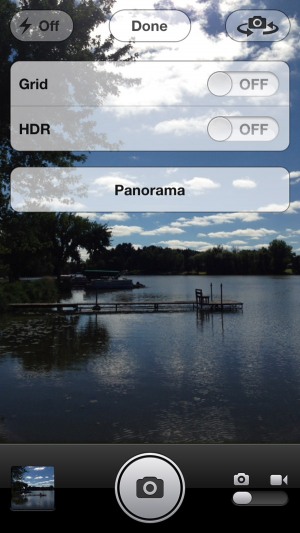
1. Open the camera app and press the Options button at the top.
2. Press the Panorama button
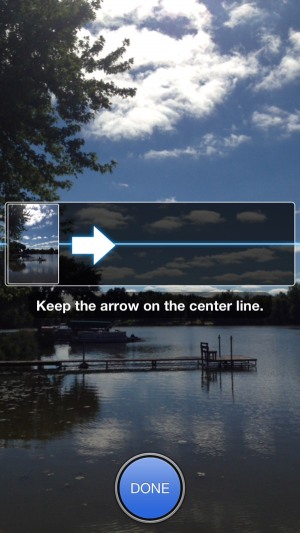
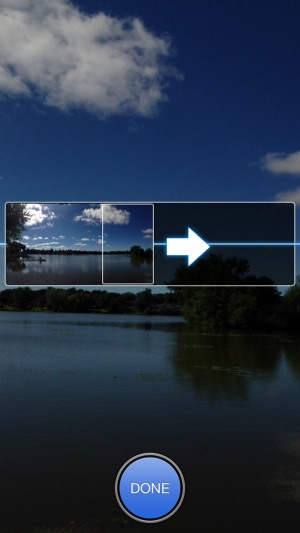
3. Position the camera to the left most point of the panorama shot you wish to take. If you want to pan right to left, just tap the arrow and the direction will reverse. Now Press the shutter button (camera icon) at the bottom of the screen.
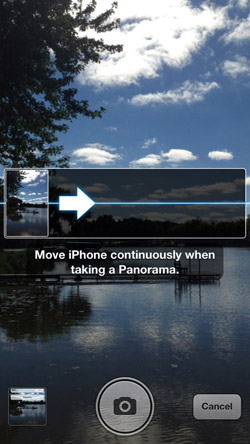
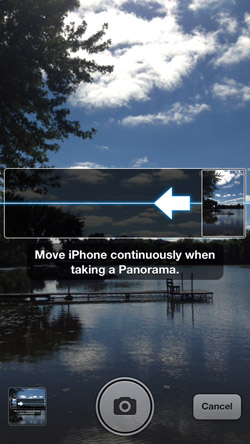
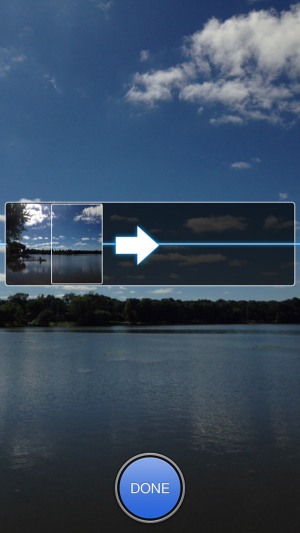
4. Move (pan) the iPhone continuously and slowly to the right. Be sure to keep the arrow moving along the blue line to keep the panorama as straight as possible.
5. Either pan for the full 240 degrees that is the default size, or press the done button when you have what you want.
6. Here are two quick final results I got by varying where I stood and the degrees I panned.
Android
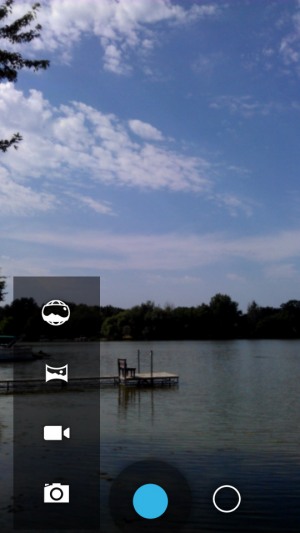
1. Open the standard camera app:
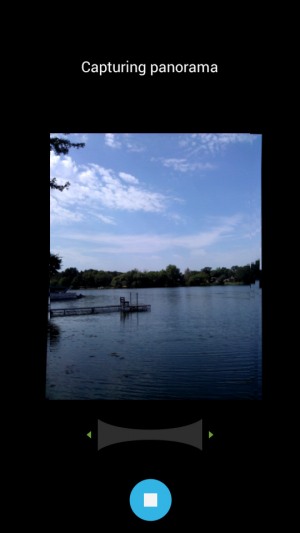
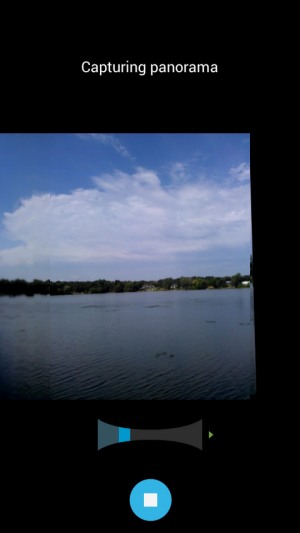
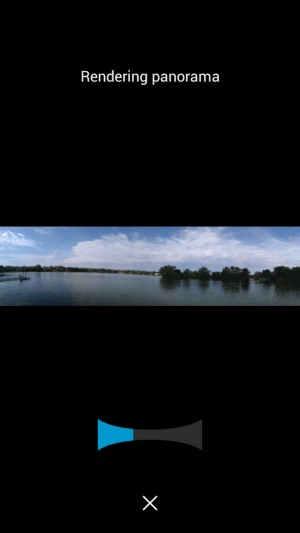
4. Press the blue capture button and the capturing process begins. Move (pan) the camera slowly to the right or left and notice how the progress bar below the image will move as you pan. You can wait until a full 180 degree capture is made, or stop at any point by pressing the blue button.
5. Once you stop, the panorama will begin to render. This may take a few minutes, depending on how powerful your phone is.
Here is the final image:
Add some word art
Now you can edit the image to your liking, including the addition of word art. Here’s another example:
Still using an older smartphone?
If your smartphone is using an older operating system that doesn’t support the newest native Panorama apps, there are some really good apps that might work for you. These will work a bit differently and might not be as simple, but will still provide excellent panorama shots. A web search will find you others as well, but these seem to be amongst the most used out there.
Coming soon, I’ll show you how Google’s “photospheres” and “tiny planets” have made the next leapfrog in panoramic technology. It is a decent bet that the next iPhone, due out this fall, will include a similar feature.
iPhone Panorama Apps:
Android Panorama Apps
- 360 Panorama
- Pano
- Photaf (free)
Have fun shooting! Kris Shefveland and team


