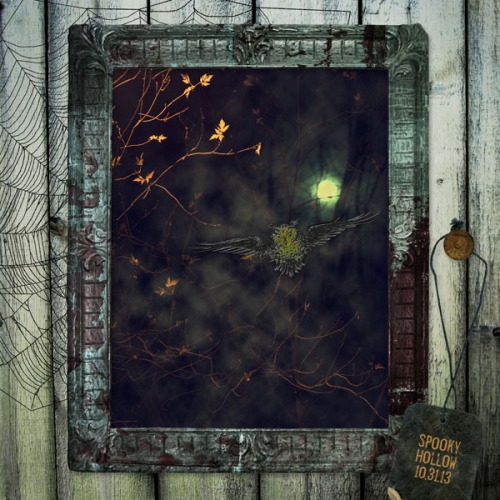
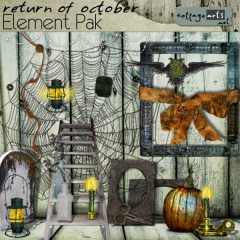
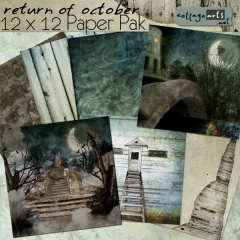
michelle shefveland. return of october papers and elements
Halloween. In Minnesota this is basically equivalent to braving the freezing temperatures in costumes covered up with winter coats, hats, and scarves, so all the kids look like little puff balls running from house to house, collecting as much candy as they can before their toes freeze. It’s truly a sad story…however, it’s fun to watch when you’re not the one out in the cold! Honestly, who doesn’t love Halloween? Dressing up like someone (or something) else for a night and eating only candy for the next week. Perfection.
But seeing all the great photos on Facebook the next day of the jack-o-lanterns and trick-or-treaters is the real treat, am I right? So today we’re going to show you a fun little tutorial that will add a little spookiness to your pictures before you share them!
Spooky Photo Effect:
1. Open Photoshop or Photoshop Elements.
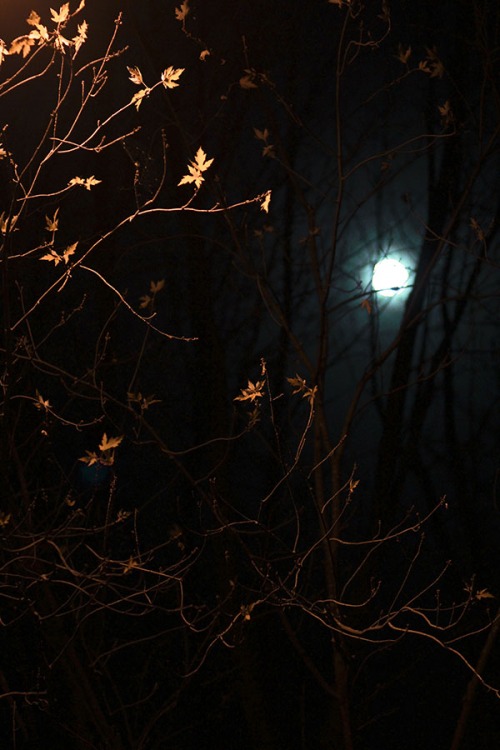
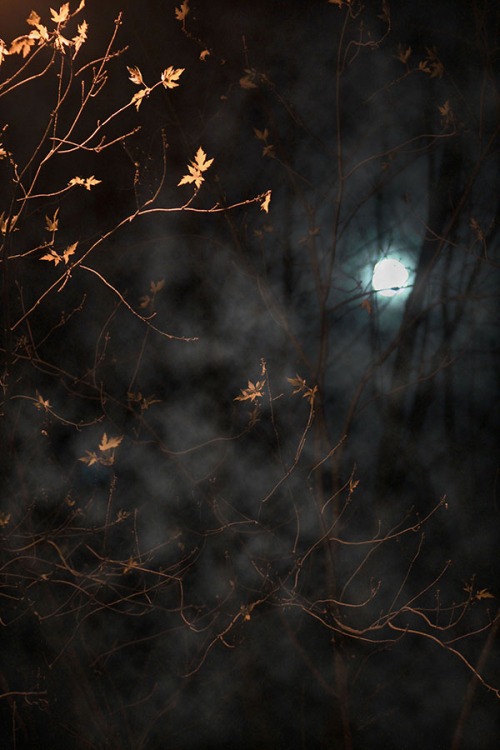
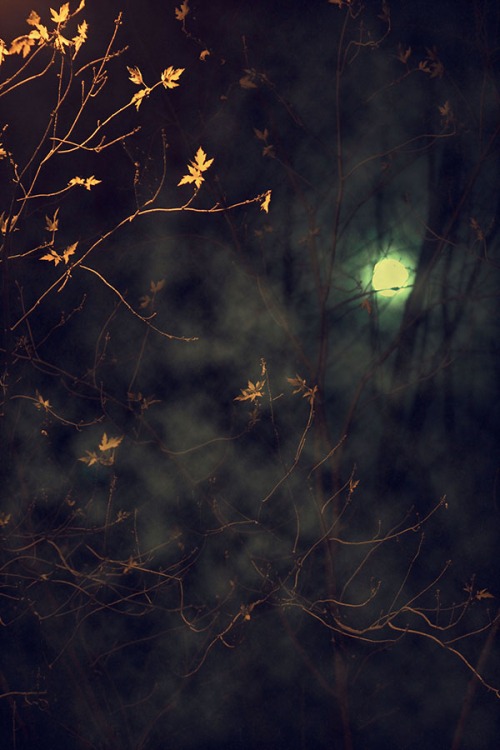
2. Open the photo you want to edit. I picked one Mom took last year around Halloween, with the street light hitting the autumn leaves just right. It already looks a bit spookish. Let’s see if we can make it even scarier!
3. Set the Foreground color to white and the Background color to black (Shortcut: X).
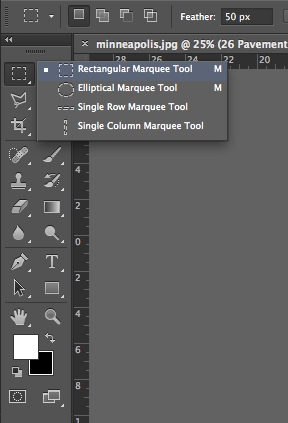
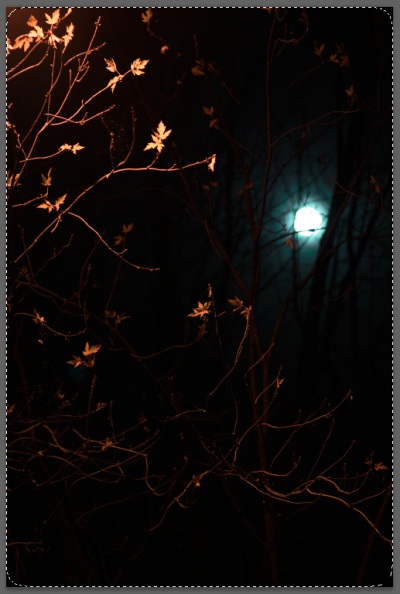
4. Select the Rectangular Marquee Tool from the Tool Bar (Shortcut: M). Set the Feather to 50px. Click and drag the cursor diagonally from one corner of the photo the the other to create a selection of the entire photo.
5. Create a new layer by selecting Layer>New>Layer, or by clicking the New Layer button in the Layers Panel.
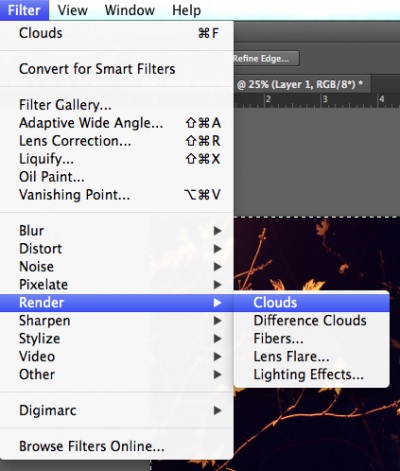
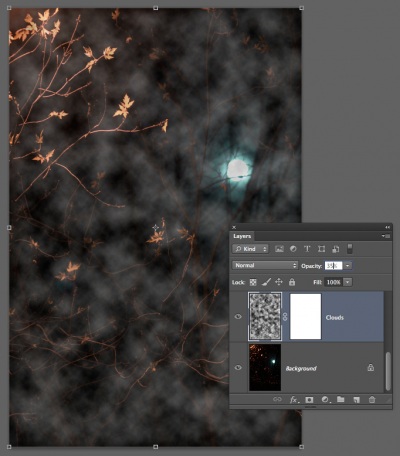
6. With the new layer selected in the Layers Panel, select Filter>Render>Clouds. Then select Select>Deselect (Shortcut PC: Ctrl D, Mac: Cmd D).
7. Set the opacity of this layer to 30-40%.
8. Click the Add Layer Mask button in the Layers Panel (box with circle inside). If you have PSE version 8 or below, forgo this step and use the Eraser Tool instead for the next step.
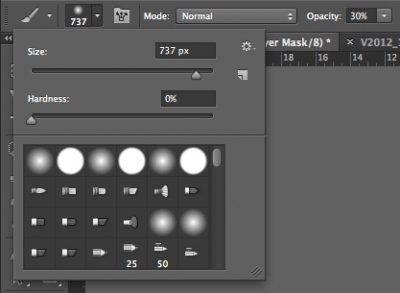
9. Select the Brush Tool from the Tool Bar (Shortcut: B). Select a medium sized, soft, round brush. Set the foreground color to black and the brush opacity to 30%. Making sure the layer mask is selected, brush around the edges and in the middle of the photo in irregular strokes and different directions to create a more random, realistic fog look.
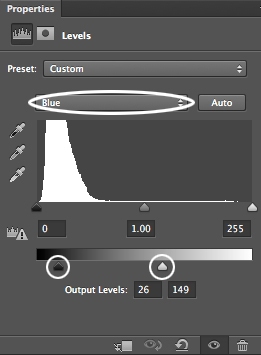
10. Next, we will add a greenish-blue tint to the photo by clicking on the Create New Fill or Adjustment Layer button in the Layers Panel (half gray/half white circle) and then selecting Levels. Click on the RGB Channel Picker (drop-down menu at the top of the Adjustments Panel (PSE) or Properties Panel (PS), and select Blue. Find the output levels near the bottom of the panel, move the white slider (right) to the left, until the photo takes on a greenish tint, and the move the black slider (left) to the right until blue tones start to show.
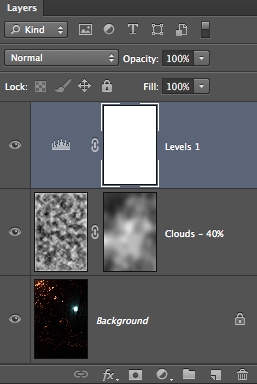
Here is a screenshot of the complete Layers Panel
11. Save in .psd format to retain layers and allow for future editing.
12. Save as medium quality .jpg to upload to social media site (you may need to resize smaller) or high quality full-size to your preferred print vendor.
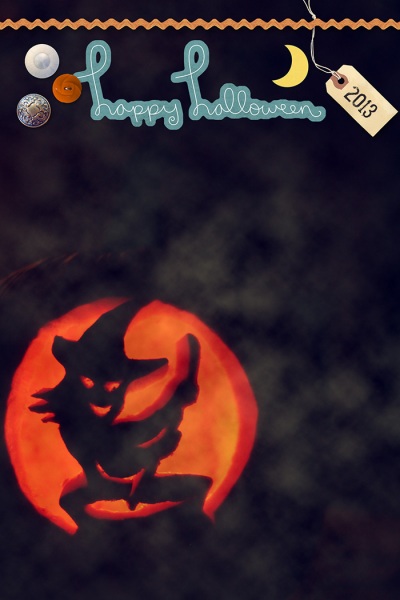
Here’s another one I edited to spook-ify a photo of our carved pumpkin.
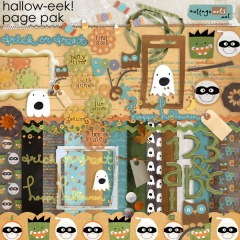
rachel shefveland. hallow-eek pak
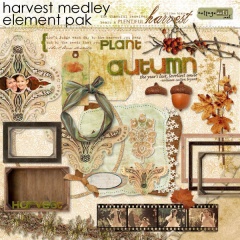
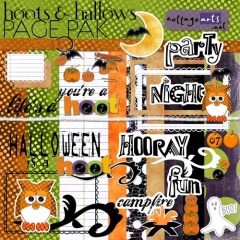
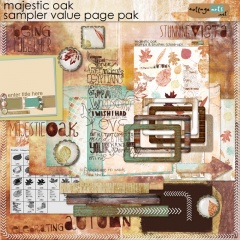
Speaking of Halloween, below are some of our fave Fall and Spook-ilicious kits in the shop. With our 3-day iDSD Everything Sale of 35%+ off, you’ll have lots of shopping fun over the weekend (FYI…our newsletter went out late Thursday night).
Happy creating!
Rachel and team

