michelle shefveland. plum haze pak
Hello all! Time for another digital how-to. With our new Plum Haze Pak, Four vintage embroidery stickers are included. Wonderful to use as they are, I wanted to share another twist using just a bit of Photoshop magic. How-to uses Adobe Photoshop Elements; any image editor with blend modes would follow similar steps.
- Open Photoshop Elements
- Open Paper for background of digital layout
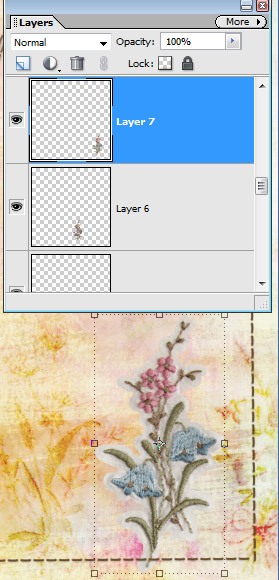
- Open sticker of choice
- Drag sticker onto paper
- Position sticker
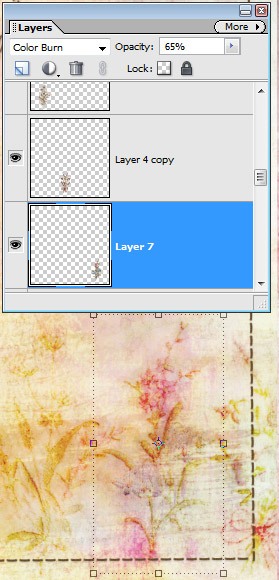
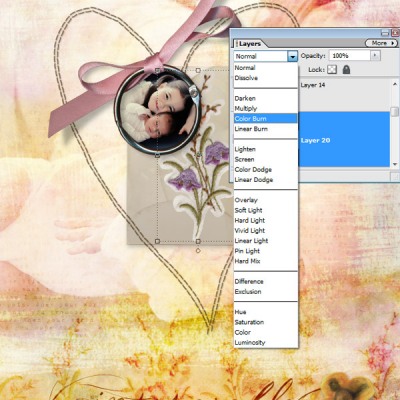
- Change blend mode to Color Burn and adjust opacity to desired stamp effect. We used 65%. Depending on color of paper you may prefer a different blend mode and opacity.
- Decrease saturation (Ctrl-U or Command-U on a Mac) if desired as Color Burn can be intense.
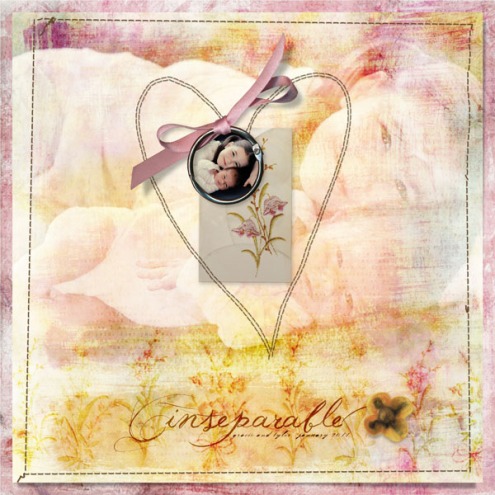
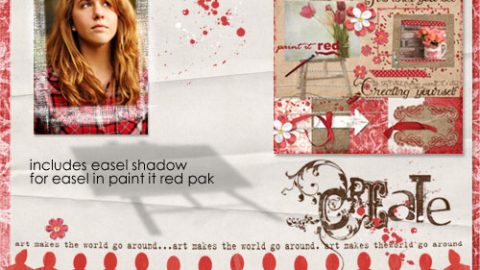
- For this layout, we used a repeating row of all four vintage embroidery stickers across the bottom and one also on the vellum envelope.
- This technique also works for AlphaSet stickers if desiring a stamped look instead of a dimensional sticker.
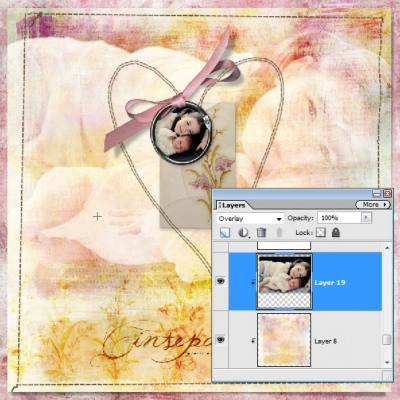
- As a finishing touch I blended the large image into the painted collage paper using Overlay blend mode.
fyi…our What’s New newsletter goes out Friday morning. Check your e-mail box for this weekend’s sale, coupon code, quick tip, new products and ideas, and more.
Happy weekend! Michelle

