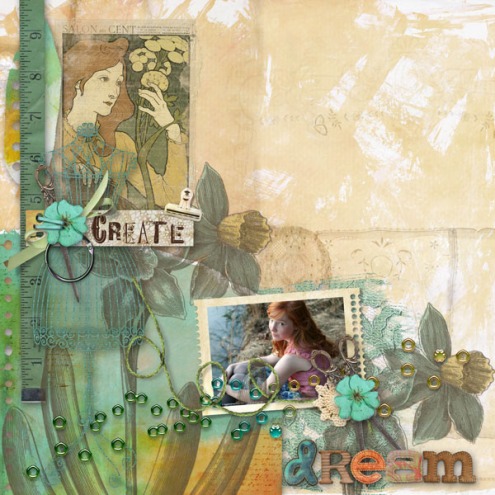
beth ervin
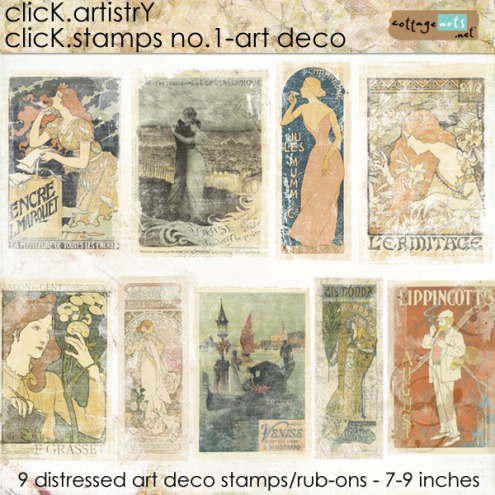
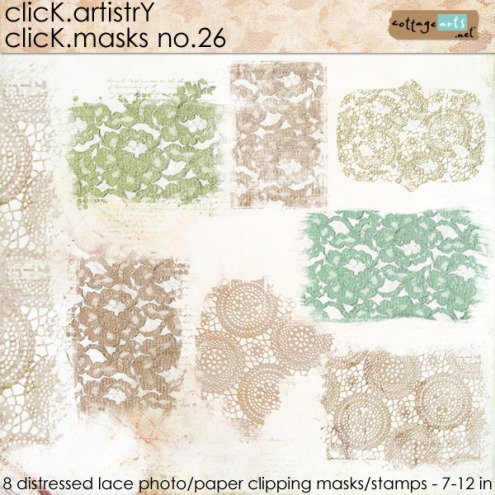
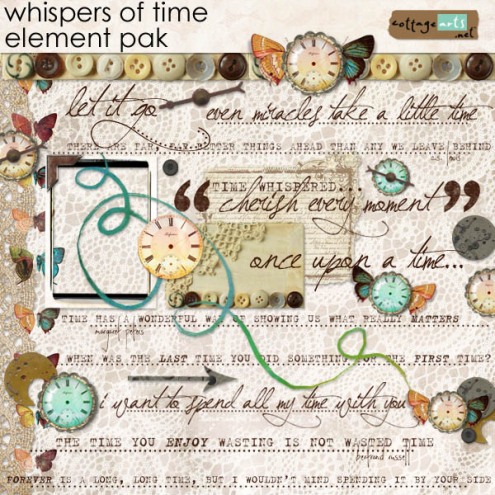
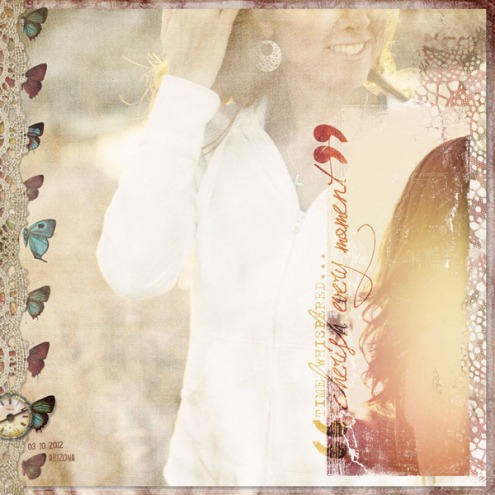
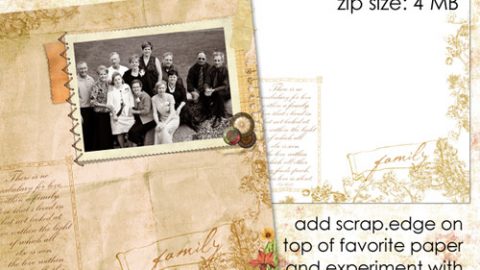
We just released eight new products (three shown below), one of which is the first in our Click.Stamp series. These pretties serve double duty as both artful accents (as Beth shows above) and Click.Masks for papers and photos (how-to below).
Rachel demonstrates below how she used one of them in this collage as a Click.Mask for the smaller image (using Photoshop Elements – Photoshop and Paint Shop Pro follow similar steps).
rachel shefveland. pieces of me 12 papers, click.stamps 1, whispers of time elements, click.masks 26
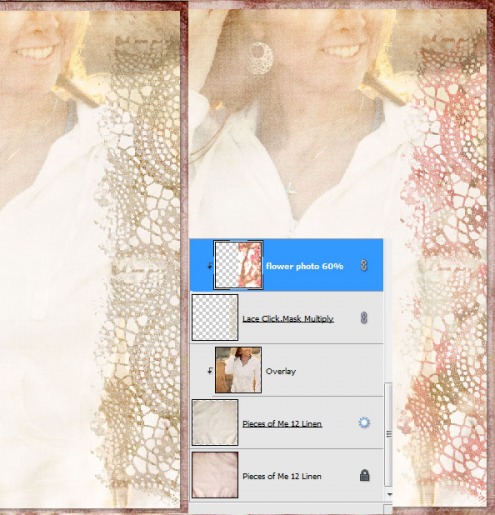
To build the layout from the bottom up, she added a base of two different linen papers from Pieces of Me 12 Papers, resizing the top cream linen slightly smaller than the bottom paper using the Move Tool. To the top linen paper she blended the large photo using Overlay blend mode, while also clipping the image to the paper.
FYI…she clipped the photo to the linen paper using Layer>Group with Previous (or shortcut Ctrl-G; Cmd-G on a Mac). See our basic Click.Mask tutorial for how to clip papers and images to masks or shapes.
Lots of blending on this layout. After adding a lace click.mask from Click.Masks 26, she clipped one of my apple blossom images to it at 60% opacity, adding color and depth.
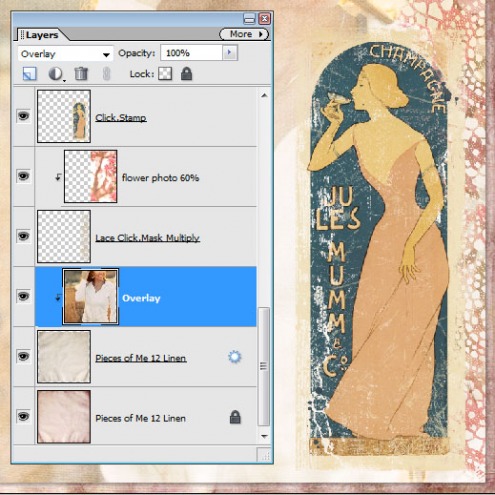
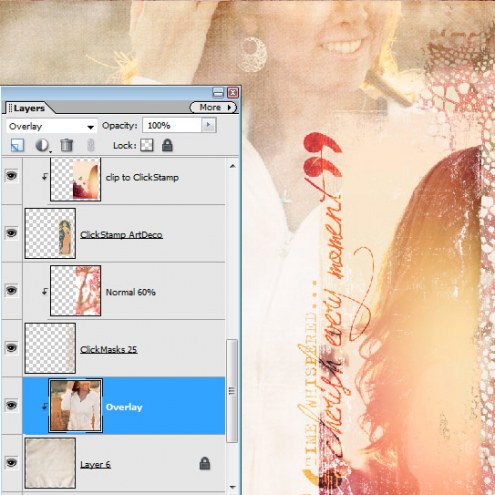
After opening, dragging, and positioning the art deco Click.Stamp, she opened the smaller photo of me, dragged it onto the layout, sized it, and positioned it over the Click.Stamp.
She then clipped the photo to the Click.Stamp as directed above.
The word art is rotated 90 degrees left and set to Color Burn at 70% opacity, adding a rich tone and texture.
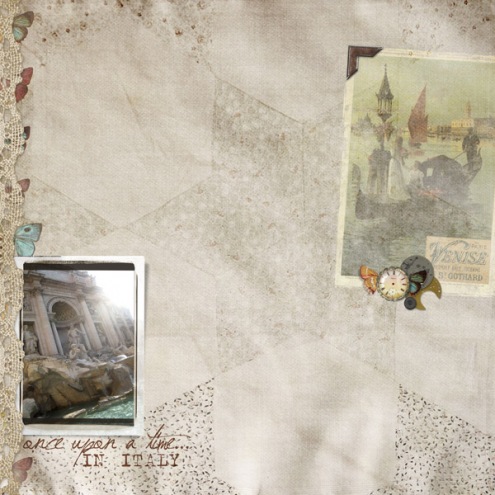
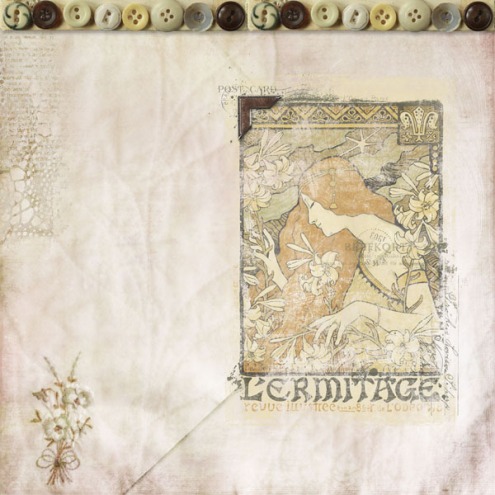
Here are some more collages using the Click.Stamps just as they are…with their distressing and added brushwork they blend beautifully into papers by just dragging and dropping.
rachel shefveland
FYI…our newsletter went out Sunday am. Check your e-mail for this weekend’s sale, coupon code, 8 new product releases, and team inspiration!
Free sign-up here.
Happy creating! Michelle and team

