|
Textured photo blends seem to be all the rage lately in
creative digital photography. And...so, so easy with our
Photo Art Blends. Our
Photo Art
Blends were created to help you add beautiful
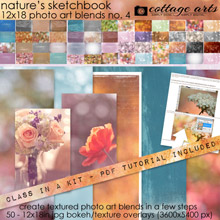
texture and tones to your imagery simply! Photo Art Blends 2 also includes
unique blends mimicking folded notebook paper, wood grain, and other
distressed textures.
Fyi...All of our products are for personal use, but
we offer a Limited Professional Use License
Option for photographers/scrappers-for-hire to use our products
in their business. Simply
select the Professional Use License Option
for each product on its product page when
ordering
(license is an additional $10 one-time fee for each download pak). Note that this license is not available for digital designers
to use our products in their designs for resale.
Instructions for using Photo
Art Blends 1-4
(samples for set 2 are below instructions)
Follow these simple steps
with your image editor to use any size or style of our Photo Art Blends.
Your image editor needs to have layering capabilities as well as
adjustable Layer Blend Modes (ie - Adobe Photoshop,
Adobe Photoshop Elements, Corel Paint Shop Pro or
Pixelmator):
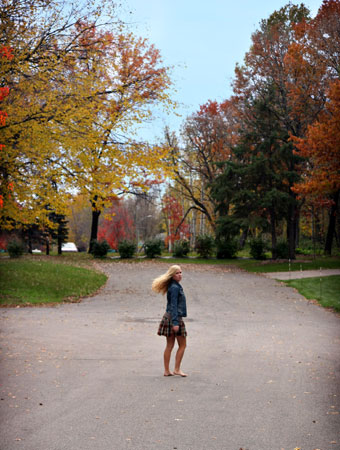
Open Adobe Photoshop Elements
Open photo (File>Open)
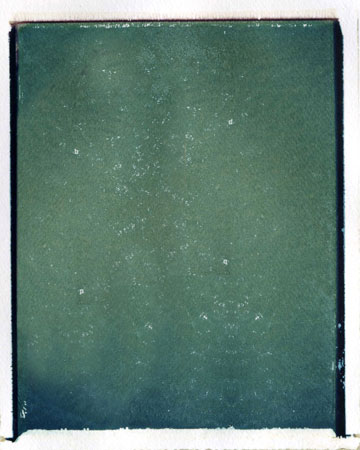
Open Naturals Paper or Photo Art Blend. Sample
used was 08 PhotoBlend1 from
Nature's Sketchbook Photo Art Blends 1
Rotate to correct orientation, if needed
(Image>Rotate)
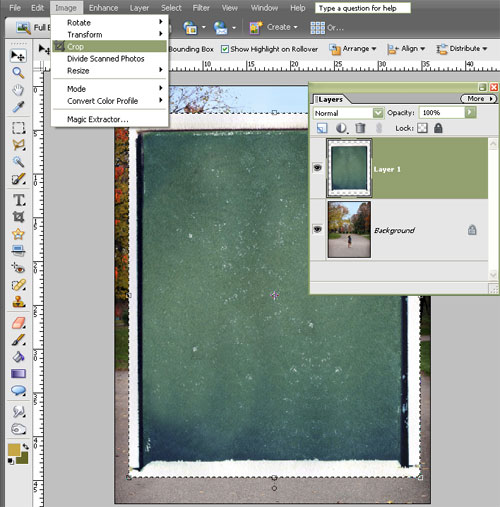
Drag Photo Art Blend (or paper) on top of photo layer.
Re-size image or photo art blend to desired size. In my case, image was larger than
the 8x10 Photo Art Blend so I cropped to the size of the 8x10 by selecting
that layer and choosing Image>Crop. Note...Because the blends
are textures and do not have fine details, it is OK to increase their size
by up to 50% and still have great print quality.
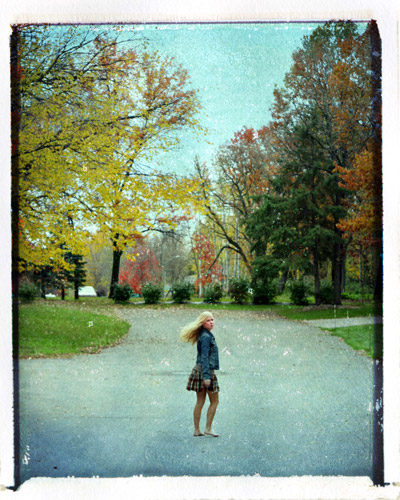
Adjust layer blend mode of paper layer to get
desired effect. Overlay or soft light are usually my favorite to give a
pop in color and texture. In this sample to achieve a cross processed
effect I used Overlay.
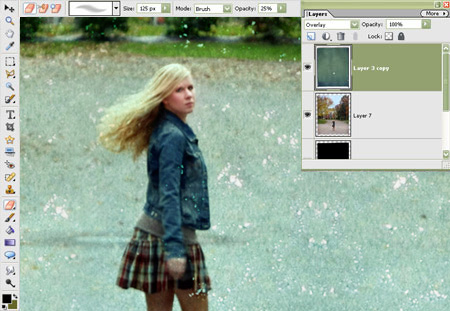
Select soft eraser brush at about 30% percent
opacity and gently erase paper texture over skin or other areas you don't
want as much (or any) texture. In Photoshop, I recommend using a layer
mask on the photo art blend and paint black over areas where you want less
texture. This is the same as erasing, however is non-destructible (as you
undo by painting white over the black).
I also used the included Photo Mask for this
piece to retain the watercolor paper texture edges. See our
tutorial on our blog for details on how to use them.
Save as layered PSD if you want to retain layer for
future editing. Save as full-size JPG to use on layout or to print at
photo lab.
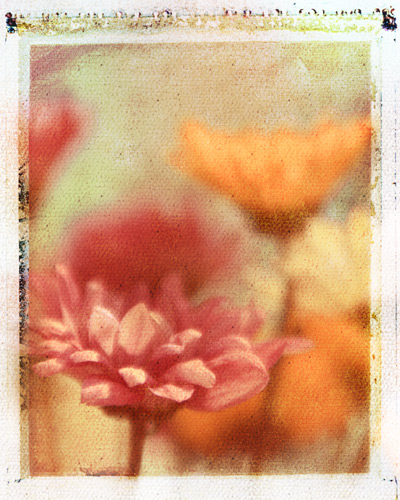
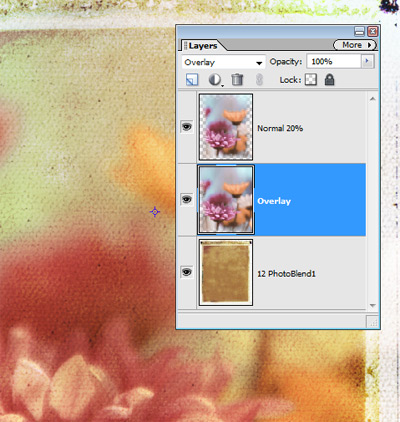
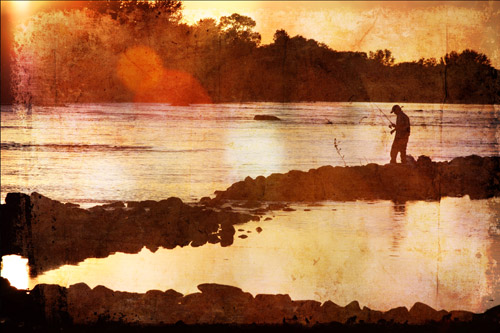
Another alternative is to place the photo
layer above the textured paper layer, as in the sample below. You can
experiment with duplicate layers of the photo, each having their own layer
blend mode and adjust the opacity of each until you get the effect you're
going for. For this particular example, I used 12 PhotoBlend1 (from Set 1) and then set
the first photo layer to Overlay at 100% and the top photo layer to Normal
at 20% opacity. Adding this extra layer at Normal brings back more of the
image and lessens the canvas texture. Too fun!!!
Also notice that I simply erased some of the
photo edges rather than use the included clipping mask since the photo was
on top of the blend instead of beneath it.
Samples using
Nature's Sketchbook Photo Art Blends
2
Here
are samples using Nature's Sketchbook Photo Art Blends 2 and the settings
used to achieve the effects shown:
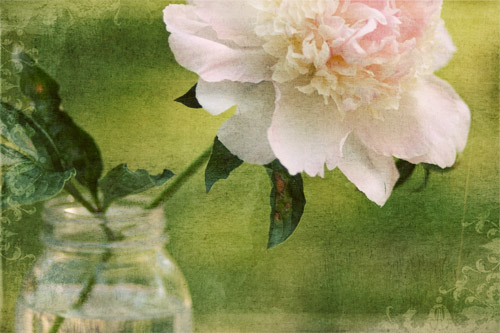
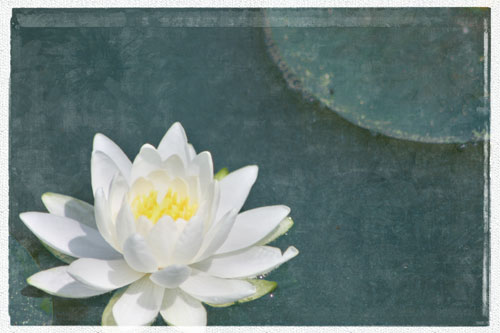
Using 11 PhotoBlend2 with Screen Layer Blend
Mode (erased texture over petals with soft round brush at 40% opacity)

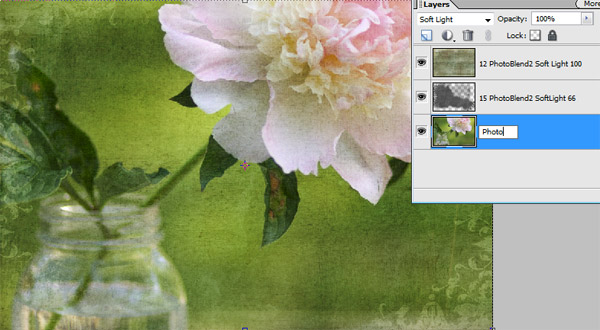
Try layering more than one Photo Blend over
another. Below I used 12 and 15, both with Soft Light and erased some of
the flourish edge from 15.
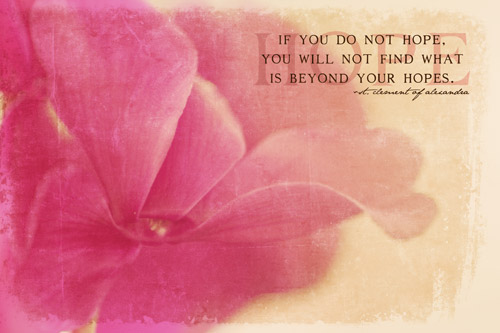
Using 08 PhotoBlend2 with Overlay Layer Blend
Mode (41% Opacity).
Grad Scrap.Words add a finishing touch.
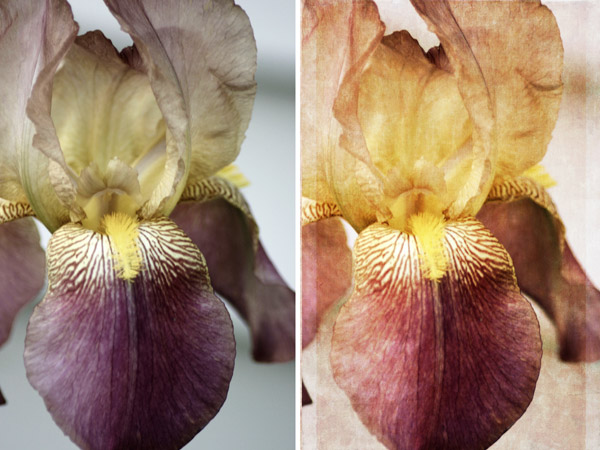
Using 07 PhotoBlend2 with Overlay Layer Blend
Mode (85% Opacity). Below is the before and after!
Using 09 PhotoBlend2 with Overlay Layer Blend
Mode
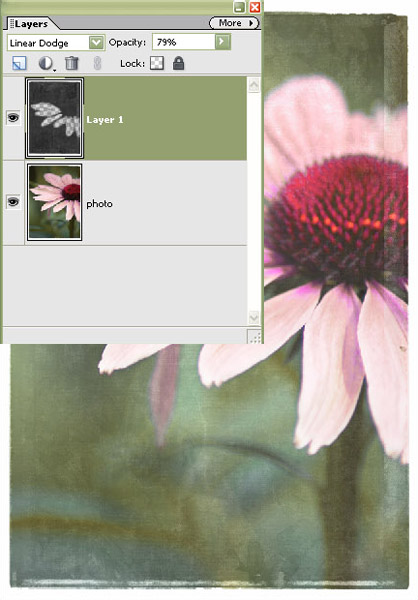
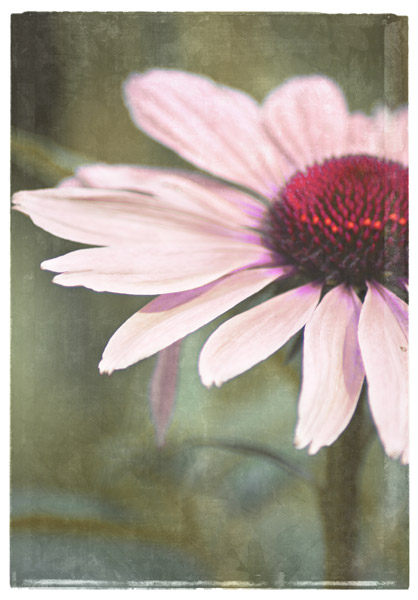
Using 11 PhotoBlend2 with Linear Dodge Blend
Mode (79% Opacity-erasing the texture over petals with 700 pixel brush at 44%
Opacity)
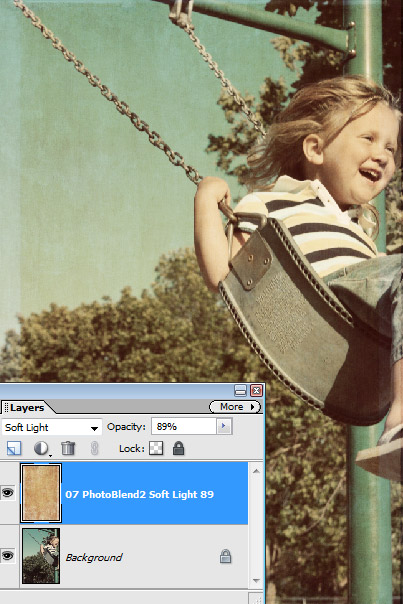
Using 07 PhotoBlend2 with Soft Light Blend Mode (89%
Opacity) - great for subtle texture and warming skin tones with an awesome
vintage feel
Again,
Using 07 PhotoBlend2 with Soft Light Blend Mode...#07 must be a fav of
mine!

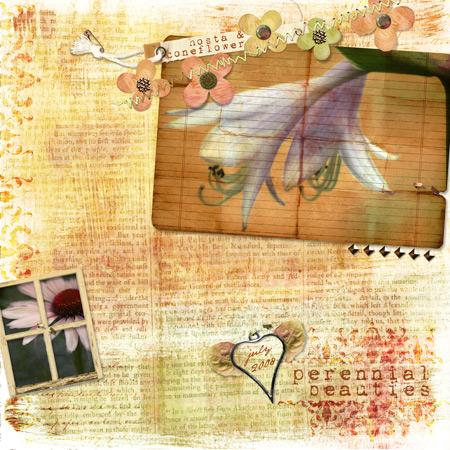
For this one below, I created a layout using a
photo blend out of the awesome crumpled torn notebook paper blend (#16),
which also has a clipping mask to get the torn edges. In this instance I
found Soft Light or Multiply worked really well to emphasize the notebook
paper folds.
I hope you'll agree that playing with these is
quite addictive! Experiment with different blends at varying opacities and
layer positions to see what effect you like best for a particular shot!
See our
Blog and
Newsletter for more tutorials and inspiration.

Download PDF Here
|