Improving Dark/Underexposed Photos using

(Jasc Paint Shop Pro, Corel PHOTO-PAINT,
Adobe Photoshop, and Ulead PhotoImpact would follow similar
instructions)
|
Sometimes you have a photo where the
flash was just a little too far away from your subject, or the
lighting was too dark. Or with this photo to the right, the flash
didn’t fire.
What you’ll need:
You’ll learn how to:
|
 |
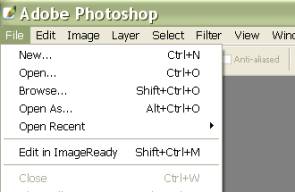
Open Adobe
Photoshop or Photoshop Elements.
Open your Photo.
Choose
File > Open and browse your system for photo.
Click photo of
choice and then choose Open.
|
|
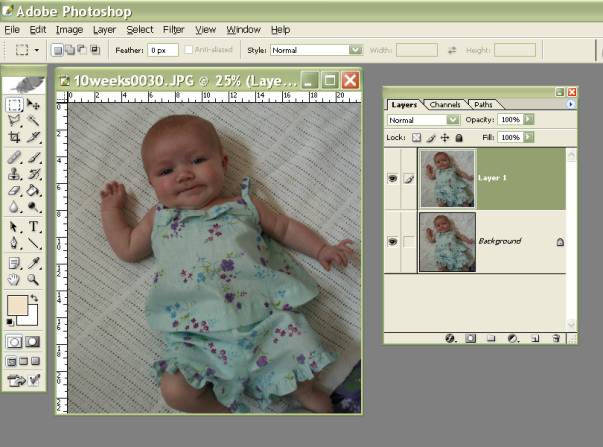
We are going to use layers to lighten
the color in this photo.
Choose Layer>Duplicate Layer.
Click on the top layer in the Layers
Palette to make it active, as shown at the right. (It may already be
selected).
|
 |
|
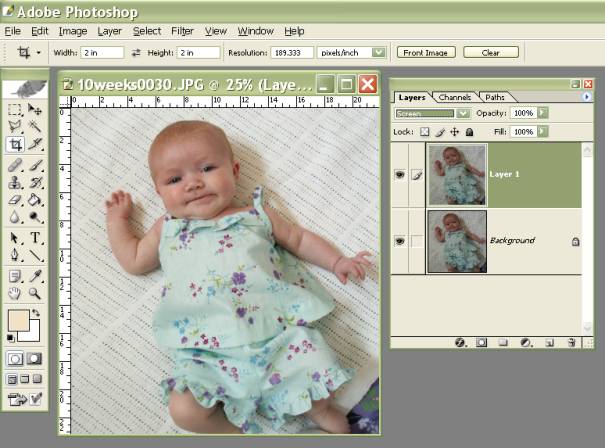
In the Layers Palette, change the
blending mode to SCREEN.
You should notice that your photo gets
much lighter, and it may be a bit too light. We will fix this in the
next step.
Look at the difference that this one
easy step can make! |
   |
|
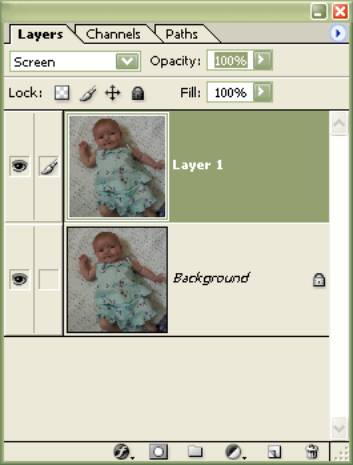
Adjust the layer OPACITY in the Layers
Palette until the color of your photo looks just right.
I used 100% here.
Be sure to save your photo with a new
name so you can always go back to the original. |
 |
Written by Roseanne Miske 2004,
Copyright CottageArts.net, All Rights Reserved |