
|
|
Blending
Photos into Scrapbook Backgrounds
using Adobe Photoshop Elements
(Corel® Paint Shop® Pro, Adobe® Photoshop®, Corel® PHOTO-PAINT,
Ulead PhotoImpact 7 and higher, and Microsoft® Picture It!® Digital Image
Pro would follow similar instructions)
|
This is a technique to give your photos a blended look with the background. There are multiple ways to do this. This is just one example. What you’ll need:
You’ll learn how to use:
|
|
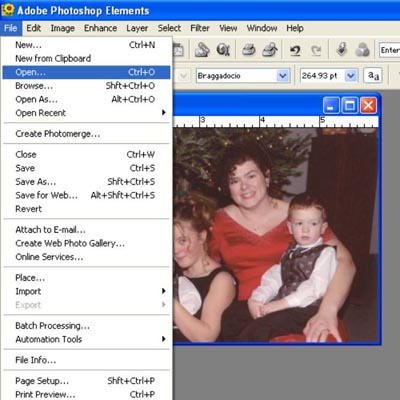
Open Adobe Photoshop Elements (PSE)Open Photo within PSE
|
|
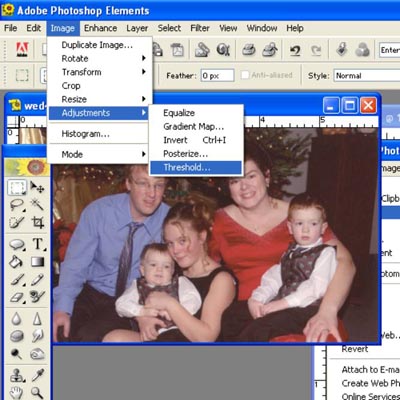
Select Image >Adjustments> ThresholdIn this example I am going to convert the photo a high contrast black & white image using the threshold command. |
|
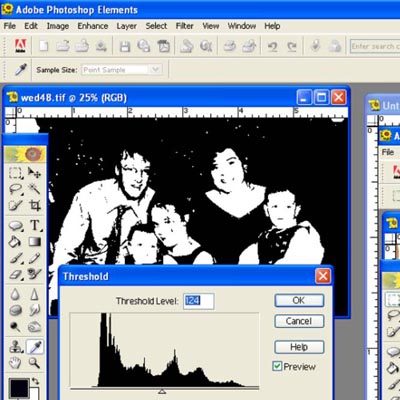
Threshold LevelIn the popup window, if preview is selected, you can see the effects by changing the threshold value. Play with this value until you get something you like. In this example I used 124.
|
|
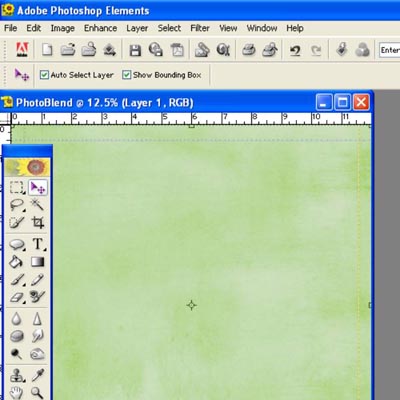
Open up your Digital Scrapbook PaperIn this example, I am using the Watercolor Lime 12x12 paper from our Simply Kids CD. Note: you should first create a new layout and drag the paper of your choice in as a layer. See other tutorials for exact steps. |
|
|
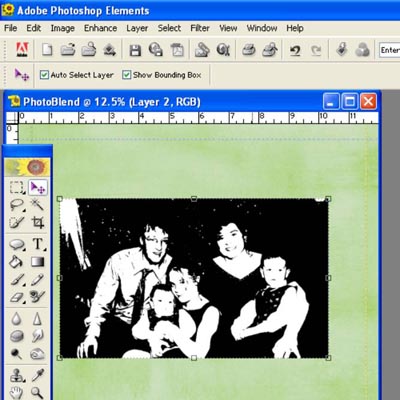
Copy your photo Drag your photo from above steps to a layer on top of your digital paper layer.
To copy, enter <Ctrl> A then <Ctrl> C on the photo layer, and then enter <Ctrl> V on your digital paper. Or, you can drag and drop using the move tool.
Resize or move your photo to the size you like by using the Move Tool. Tip: Hold the shift key while re-sizing to keep size in proportion.
|
|
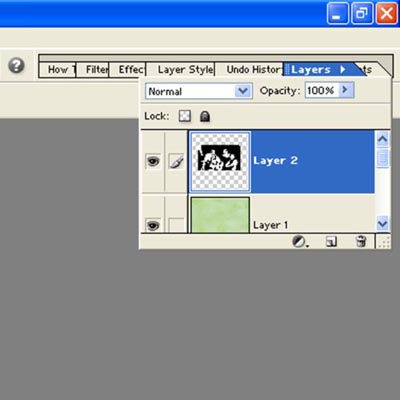
Blending ModesOpen the Layers Palette. Make sure your photo layer is active by clicking on that layer. |
|
|
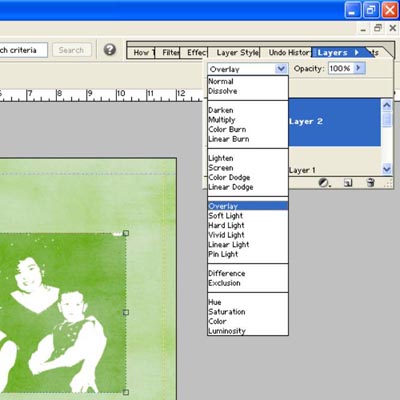
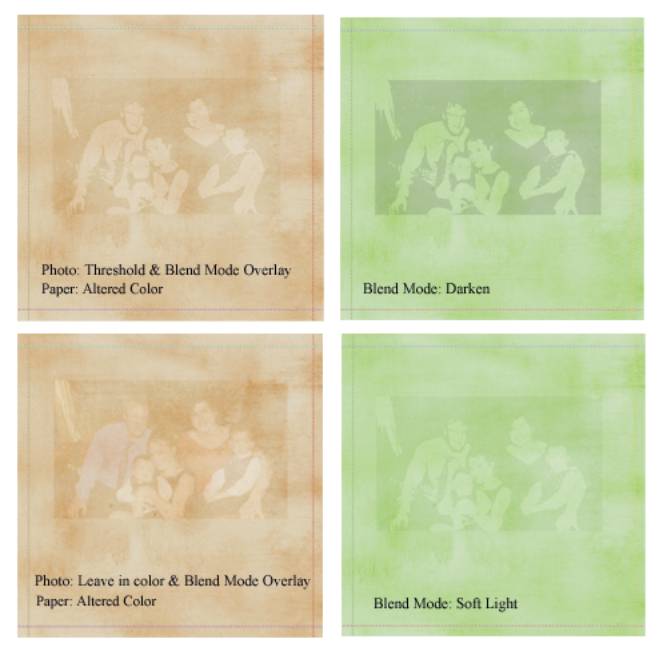
Select the Layer Blend Mode Click on the Layer Blend Mode drop down box (next to Opacity). In this example I selected Overlay.
Note: The great thing about blend modes is it picks up the texture/style/colors of the paper/layers below the photo. |
|
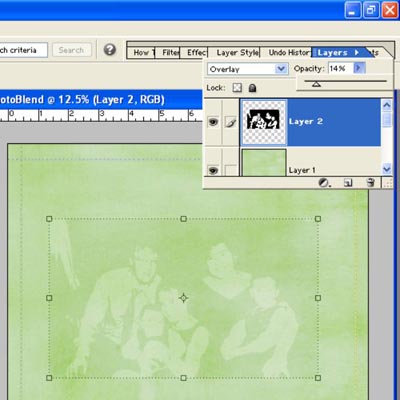
Alter the OpacityTo blend the photo even more into the paper adjust the Opacity of the photo. Click on the arrow to the right of opacity and use the slider to adjust to your taste.
|
|
|
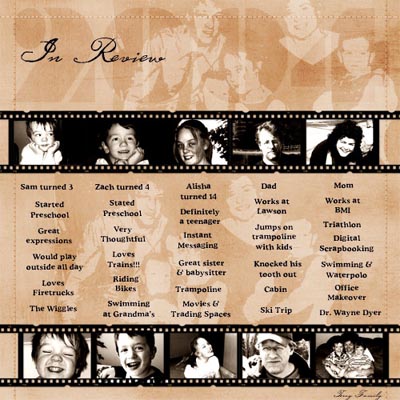
Complete Layout Using the negative film strip from Simply Kids, I added numerous photos beneath each opening, resizing as needed. I duplicated the negative, added more photos, text, title art, and I was done! Save Layout Select File > Save and choose .PSD or .PDD (Photoshop) to save layout with all your layers. Make sure to save as a different file name so you don’t overwrite your original digital paper image. |
|
|
Other Tips Experiment with other blend modes, use a color photo, and change the color of your papers, to see all the variations you can create with these wonderful functions of image editors.
|
|
Written by Karla Terry, CottageArts, LLC, Copyright 2005, All Rights Reserved
