
|
|
Working
with Simply Digital™ Page Paks
using Adobe Photoshop Elements
(Corel® Paint Shop® Pro, Adobe® Photoshop®, Corel® PHOTO-PAINT,
Ulead PhotoImpact 7 and higher, and Microsoft® Picture It!® Digital Image
Pro would follow similar instructions)
|
This tutorial is designed to show you how easy it is to use and customize our Simply Digital Page Paks, Element Paks, Paper Paks, and/or AlphaSets, to make your own layouts using Adobe Photoshop Elements. What you’ll need:
You’ll learn how to make:
|
|
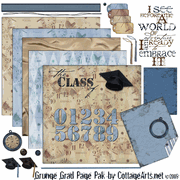
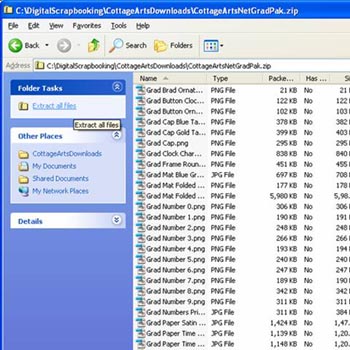
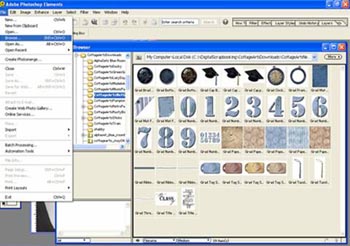
Download and Unzip Page PakIn this example I downloaded the Grunge Grad Page Pak. I have created a folder on my hard drive specifically for my CottageArts downloads, C:\Digital Scrapbooking\CottageArts To unzip (In XP) contents of page pak:
The advantage of doing it this way is the default unzipping path is the path where your zip file is located (for me, it is C:\DigitalScrapbooking\CottageArtsDownloads) and then it creates a folder with the name of your zip file. In this example it created a folder called CottageArtsNetGradPak, as that was the name of the zip file. You can rename if desired, or put spaces in to make it more readable. |
|
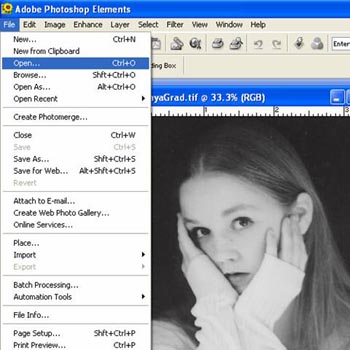
Open PhotosTo open the photo(s) you want for your layout:
|
|
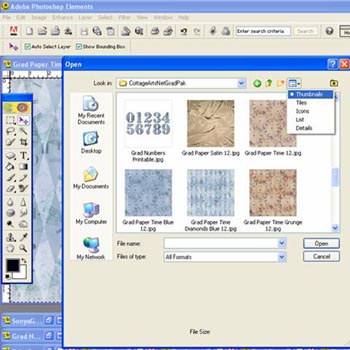
Open a Digital Background Paper
Tip: click on the View Menu Icon and change to Thumbnails view to see pictures of the contents of the folder.
|
|
Open Papers and ElementsI like to open more papers and elements than I may use, so I can test and play with what may work.
Tip: To open multiple images at once, use your Ctrl key and mouse to select more then one image. To open double click on one of the images selected and all images will open.
|
|
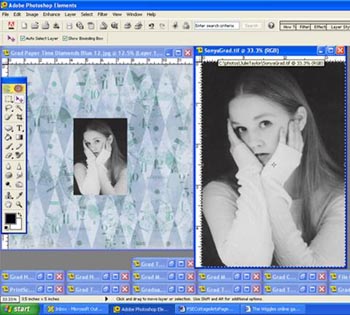
Copy/Drag Photos and ElementsTo copy your photos, papers and elements to your new file:
Note, you can also drag them from one image to another.
|
|
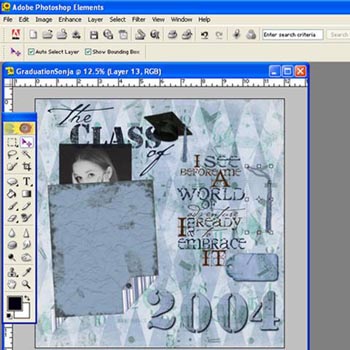
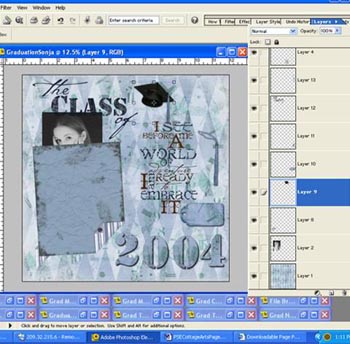
Move, Resize, and Change Layer OrderIn this example I am showing a layout after I copied all the photos, papers & elements. Once the layout has all or most of the images/graphics you are going to use, all you have to do is move, resize and/or change the layer order of the photos, papers, and elements to your preference.
|
|
To Move:
|
|
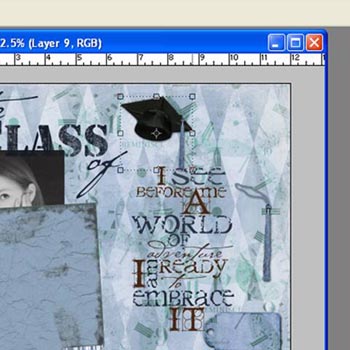
To Resize:
Tip: To keep the element in proportion when you are resizing, hold down your shift key while you are dragging to resize. |
|
|
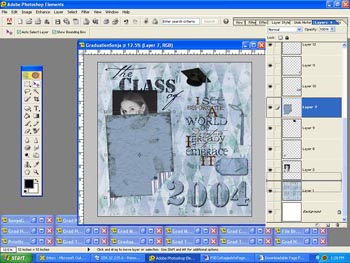
To Change Layer Order: In this example I want to move the mat so it is under the photo.
In the layer palette on right side of screen, click on the desired layer (photo, paper or element) and use your mouse to drag it where desired in layer order. Notice there will be dotted lines where the layer will be moved to once you release with your mouse.
|
|
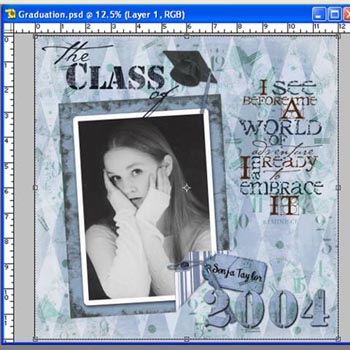
Finished LayoutVoila! You can have a finished layout with just moving, resizing and changing layer orders of the photos, papers and elements.
|
|
|
Save Layout Select File > Save and choose .PSD (Photoshop) to save with all layers intact, in order to be able to edit in the future. Make sure to save as a different file name, so you don’t overwrite your original paper file. |
|
|
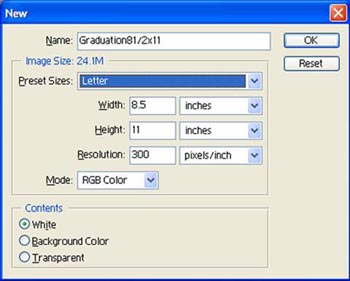
Alternate Method for layouts other than 12x12 Create a Blank New LayoutIf you are creating a layout any size other than 12x12, it is easiest to begin by creating a new file in the size you desire. In this example, we are going to create an 8.5x11 layout for printing on a standard print. Do this step before copying photos, papers and elements to your layout.
|
|
|
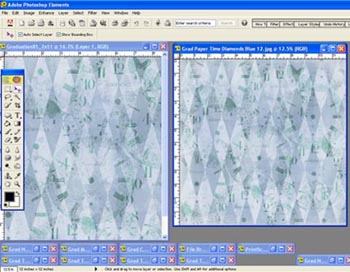
Copy Background to New blank file The easiest way to get the 12x12 background on your 8.5x11 layout is to copy or drag it over.
Note you can also use the Move Tool to drag and drop the background to the new file.
|
|
|
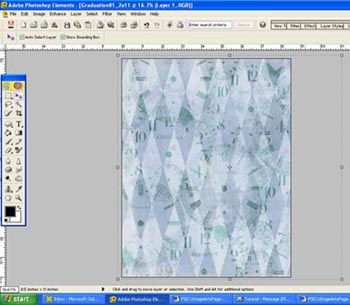
Resizing Background on New Blank file If you do want more of the background to fit into the 8.5x11 canvas you can use the Move Tool to resize. Hold down the Shift key and select a corner handle on the selection with your mouse, while resizing, to keep it in proportion. (Note when you resize and keep in proportion, it will not fit exactly because the papers are not in the same proportion)
|
|
|
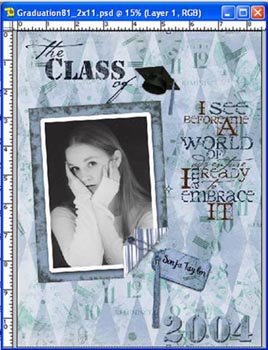
Finish Layout Follow steps above in 12x12 layout to complete this layout. You can create an 8.5x11 page very similar to the above 12x12 layout using the same page pak, but just need to resize and move the images around a bit. |
|
Written by Karla Terry, CottageArts, LLC, Copyright 2005, All Rights Reserved


