
|
|
Exploring Filters and
Effects using
![]()
(Adobe® Photoshop® and Photoshop Elements,
Corel® PHOTO-PAINT,
Ulead PhotoImpact 7 and higher, and Microsoft® Picture It!® Digital Image
Pro would follow similar instructions)
|
Looking to create a special effect on your layouts, but you’re not sure what you need to do? This month, I’ll cover just a few of the many filters available in Paint Shop Pro 8.1. |
|
|
What you’ll need:
You’ll learn how to use:
|
|
|
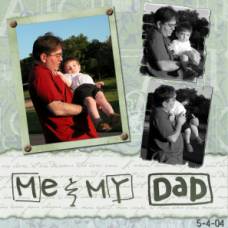
In my first layout, called Me & My Dad, I decided to alter the look of my focal point photograph by making it look like a painting. Open your photo, hit Shift + D to create a copy. Close your original. Go to Effects > Art Media Effects > Brush Strokes I used the default settings for my photo:
|
|
|
Since my focus for this layout is “Me & My Dad” I chose to use two additional photos from the same day. On these, I added picture frames.
|
|
|
This next step is optional. I prefer my edged photos without the white, so I remove it.
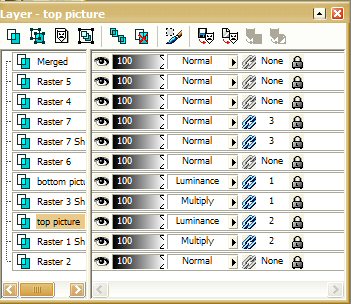
For the colorized effect on the smaller photos, I simply changed the blend modes on the layer palette to Luminance. |
|
|
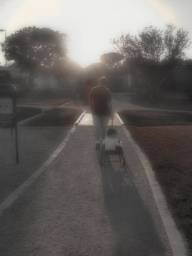
In my second layout, Careful Man, I really liked the look of the Worn Leather background and the Old Belt element from Simply Vintage. I wanted my photo to mimic the old feel of the paper and belt, so I used Soft Focus and Sepia Toning to achieve what I wanted. |
|
|
As before, open your photo, Ctrl +D for a copy, and close your original.
I used the Youthen preset for my photo. The settings for that are:
|
|
|
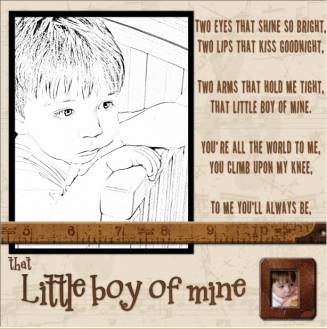
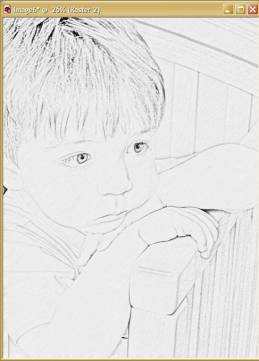
My final layout, Little Boy of Mine, uses a script from PSP 8.1. |
|
|
Open your photo and create a copy. Close your original photo.
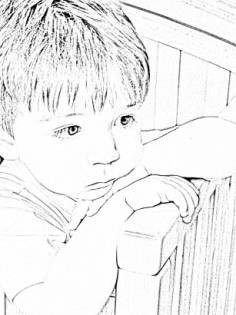
And here’s my result! |
|
|
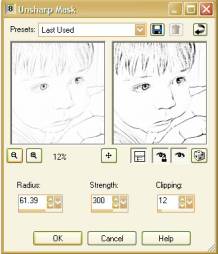
We’re left with a three layer image now. Since it’s a bit dark, I increased the brightness of my Raster 2 layer. (Brightness 25 Contrast: 32) Merge your layers: Layers > Merge Visible I wanted to see the edges more clearly in this image, so I chose to use the Unsharp Mask. This tool is typically used to enhance edges without increasing noise. This is one that you need to play with until you get the result you love. Make sure that both of the little eyes are clicked, so that you can see a preview on your original image. The settings I used are:
The techniques and filters I’ve used here are just a small sample of the treasures waiting to be discovered in Paint Shop Pro. Jump in; the water’s fine! |
|
Supply lists:Me & My Dad:Simply Vacations CD, CottageArts.net: Architecture Sage Paper and Sanded MatFonts: LB Jennifer and 2 Peas FamilyCareful Man:Simply Vintage CD, CottageArts.net: Worn Leather Paper and Worn BeltFont: 2 Peas Well BehavedLittle Boy of Mine:Simply Shabby CD, CottageArts.net: Cream Music PaperSimply Vintage CD, CottageArts.net: Old Ruler and Rusty Slide MountFonts: 2 Peas Task List and 2 Peas Mr. Giggles
|
|
Written by Leila Schweiss. CottageArts, LLC, Copyright 2004, All Rights Reserved
