
|
|
Creating a Torn Edge on
your
Digital Paper using
![]()
(Adobe®
Photoshop® , Jasc Paint Shop Pro, Corel® PHOTO-PAINT,
Ulead PhotoImpact 7 and higher would follow similar instructions)
|
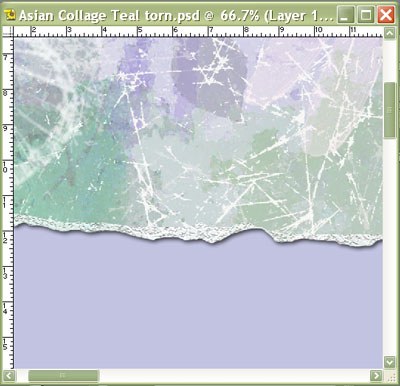
There are numerous ways to create a ‘torn’ edge. This is just one method to create this look at the right. What you’ll need:
You’ll learn how to:
|
|
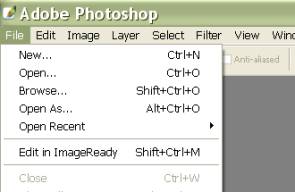
Open Adobe Photoshop or Photoshop Elements.Open your Photo.Choose File > Open and browse your system for photo. Click photo of choice and then choose Open.
|
|
|
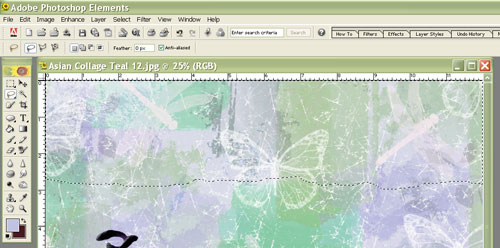
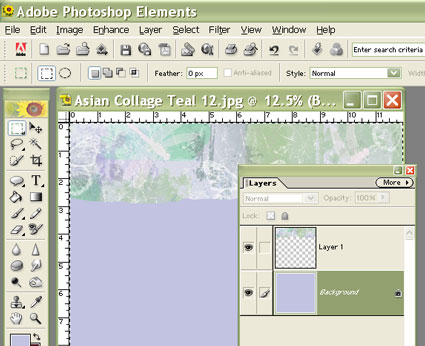
Select the Lasso
Draw a freehand shape around the area of the background paper that you want to use in your layout. |
|
|
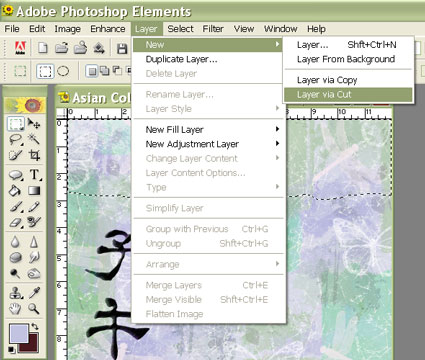
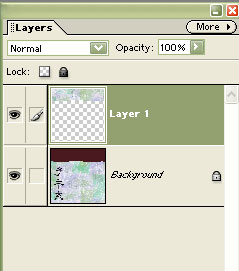
Now, we are going to put that selection on a
new Layer.
|
|
|
The Layer Palette should look similar to this. The part of the paper we are going to ‘tear’ should be on its own layer.
|
|
|
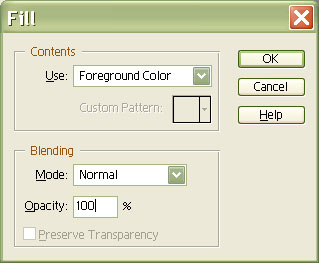
Now, we need to do something with the Background layer. You can either paste in another paper, or make it a solid color, as shown here. Here’s how: Click on the Background Layer in the Layers Palette to make it active.
Use the Eyedropper
Choose Select > All.
Choose Edit > Fill. Make sure Foreground Color is selected, and click OK.
|
|
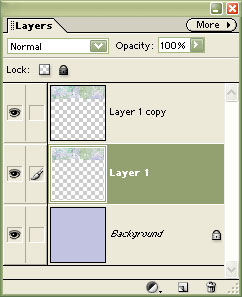
Now, to make the ‘tear’ look a little more realistic, we are going to use Layers.Make sure the top ‘torn’ layer is selected.Choose Layer > Duplicate Layer. Now, click on the middle layer to make it active, as shown at the right. |
|
|
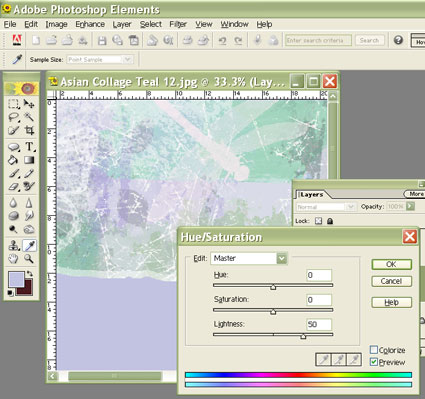
Select the Move Tool
Use the down arrow on your keyboard to nudge the layer downward, one pixel at a time. (Try 5 or 6 pixels).
Then choose Enhance > Adjust Color > Hue/Saturation. Increase the Lightness by 50.
(You will only see the edge of the middle layer lighten.) |
|
|
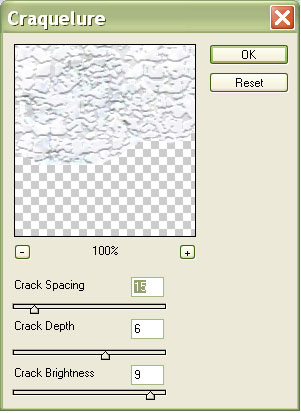
To apply some texture to the torn area,
Experiment with the settings until you get the desired amount of texture. Click OK. |
|
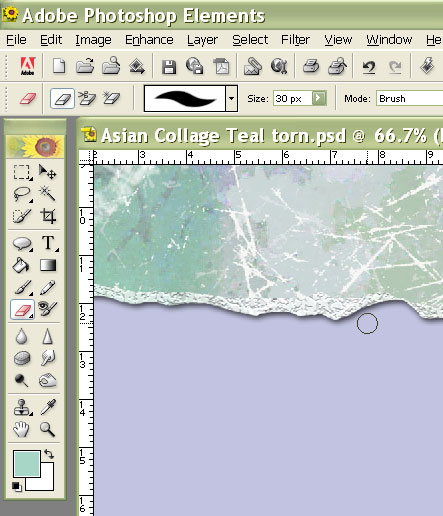
With the middle layer still active, select the Eraser
tool
|
|
With the Eraser, draw along the edge of the paper to make the ‘torn’ part more irregular. |
|
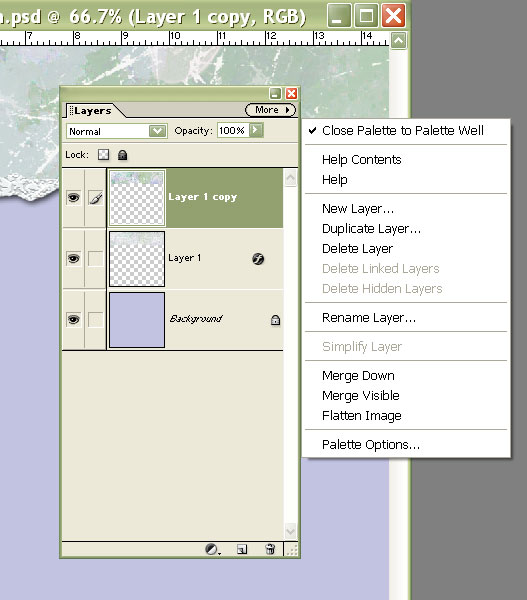
To combine the two torn layers together, make the top layer active.On the Layers Palette, click on the MORE button, and choose Merge Down.
|
|
|
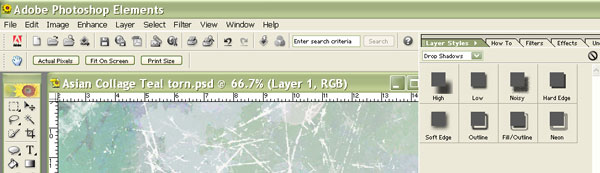
Now, you can add a drop Shadow to your torn edge by choosing the Layer Styles Tab in the Palette Well.
Choose Drop Shadows from the pull down menu, and select a drop shadow for your tear. Soft Edge works nicely.
|
|
You’re finished!Now be sure to save your file. |
|


Written by Roseanne Miske. CottageArts, LLC, Copyright 2004, All Rights Reserved