
|
|

Drop
Shadows and Border Strokes:
Tutorial 3 in a series
of creating a custom layout
(Jasc® Paint Shop® Pro, Adobe® Photoshop®, Corel® PHOTO-PAINT,
Ulead PhotoImpact 7 and higher, and Microsoft® Picture It!® Digital Image
Pro would follow similar instructions)
|
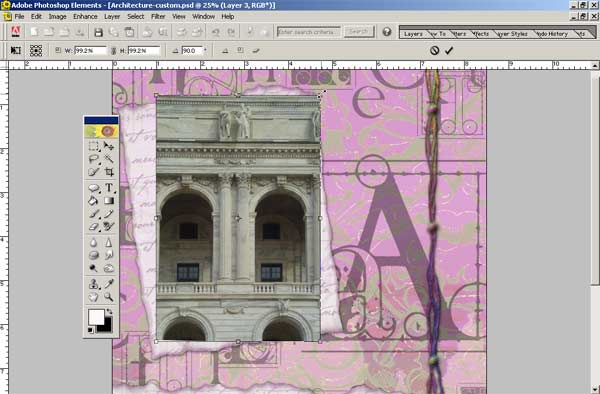
This tutorial is the third in a series of small tutorials guiding you in creating a custom layout using the Simply Digital scrapbook templates, which are in PSD format. Here is a breakdown of the steps this series will cover:
Supplies needed: Adobe Photoshop Elements 2.0 Simply Digital Template CD (tutorial uses Simply Vacations CD) This tutorial continues right where "Tutorial 2: Rotating Photos" left off, with the photo rotated in the correct position. We will now add a white photo border/edge and drop shadow; two popular techniques for setting off a photo on a layout. |
|
|
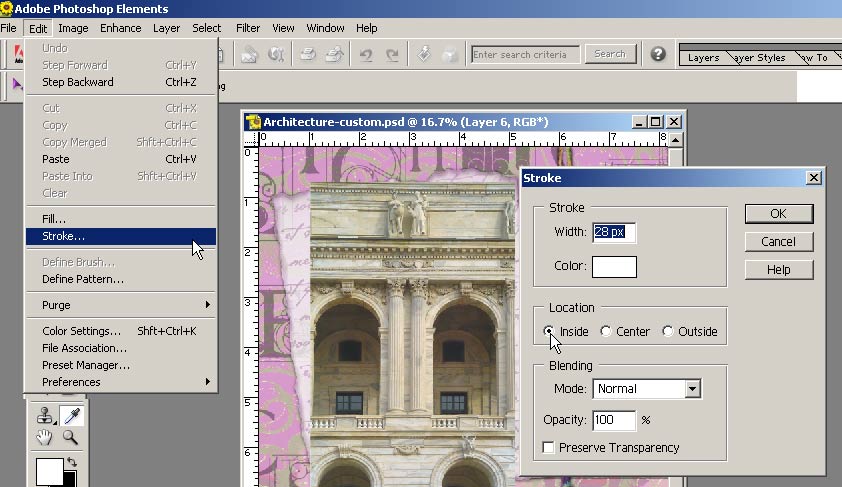
Add White Photo Border To add a simple white border around your photo, select the photo in the layer palette or click on the photo with the move tool active on the tool bar. Make the foreground color box white (shortcut is to click d and x) at the bottom of the toolbar by clicking on it and entering HTML: FFFFFF in the dialog box. Choose Edit>Stroke and depending on size of border desired experiment with different pixel widths. For a 4x6 or larger photo on a 300 dpi photo, 25-30 pixels is a nice width. Select Inside as the option to get crisp corners. Click OK. |
|
|
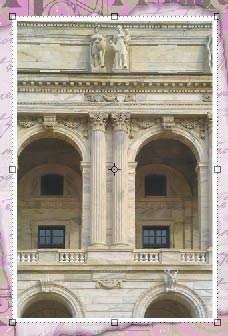
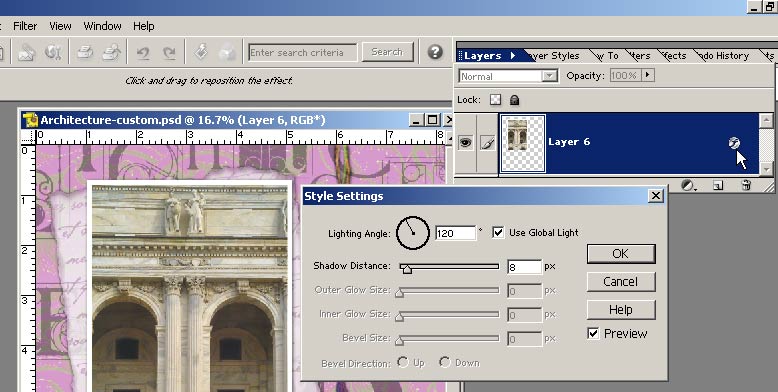
Add Drop Shadow One of the easiest and most important step in digital scrapbooking is to add drop shadows to your photos and anything else you create. Most of our embellishments come with drop shadows already added for you in order to save you time.
Click on photo to make it active.
|
|
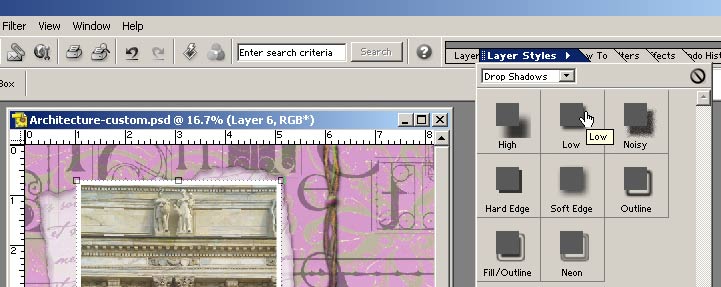
| Check out the soft realistic shadow (low setting used). See the next tutorial in the series on adding text to your custom layout. |
 |
Michelle Shefveland, CottageArts, LLC, Copyright 2004, All Rights Reserved